Superbills
- In the billing section of the system, you can view all superbills that have been created.
- Depending on what you need at the moment, you can: view all superbills, search for a specific superbill, or view superbills for a specific provider.
- To Go to superbills, click on the dashboard > Billing > superbills.
Viewing Superbills
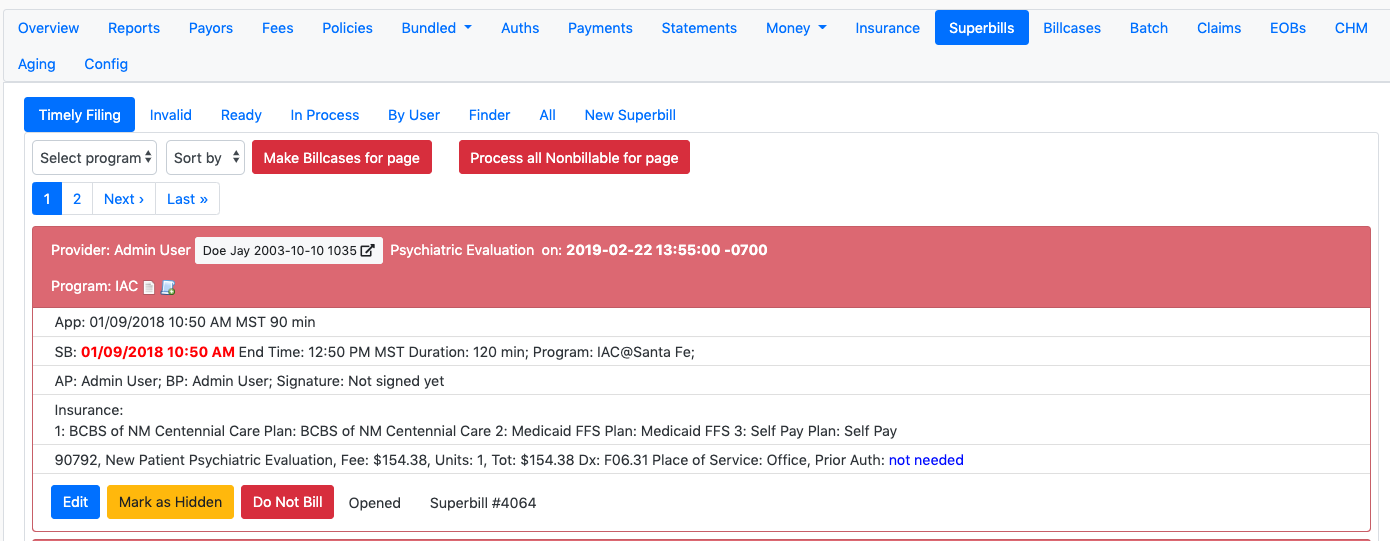
* You can view Superbills by, Invalid, In Process, Ready, All and By User. If you need to find a specific Superbill there is a Superbill Finder available.
* The Superbills list gives you a quick overview of the Superbill and any issues it may have.
* Clicking the paper icon allows you to review the completed form.
* The paper with a plus symbol icon  allows you to send an intercom to the user who created the superbill.
* Any potential issues, such as insurance mismatching, or missing information is highlighted in red.
* And the green  is used to revalidate or update the information.
* The invalid tab list all the invalid superbills. You can check the error message using the red  button.
* The Ready tabs list all the superbills that are ready to be processed without any errors.
* The In Process tab has all the superbill that are half way complete. For example may be just needs a signature.
* By user tab can be used to search superbill of a particular user.
* All tab list all the superbills.
* Finder can be used to find superbills for particular date range.
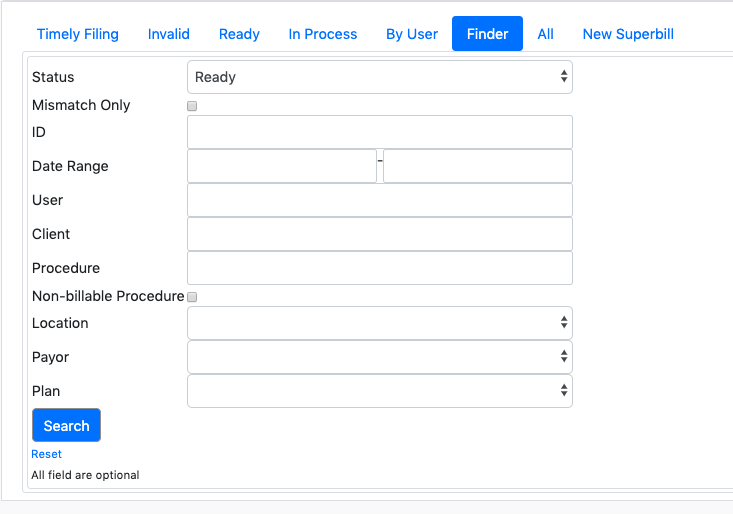
- To Show all Superbills from a specific user, click the By User tab, and choose the user's name.

- You can use Finder to search superbills for particular date range or with a particular status.
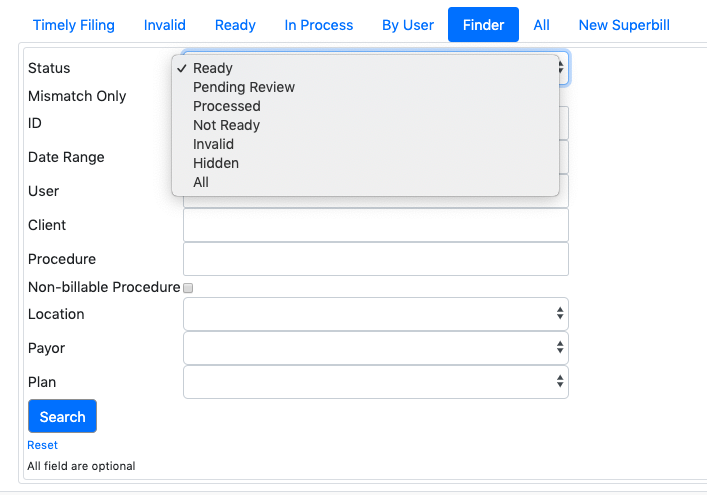
Explanation of fields are as follows:
- Status: choose the status of the superbill from the drop down menu.
- Mismatch only: This field when check will search superbills that has credential mismatch.
- ID: Can be search the User or client ID.
- Date range: Can be used if you want superbills for a particular date range
- Client: Can search with the name of the client
- User: Can search by username.
- Procedure: Search with the procedure code.
- Payor: Search with the payor (insurance)
- Plan: choose the plan after you choose the payor.
- Non billable: Check the box if is a non billable procedure. ____________________________________________________________________________________________________________ ## Timely Filing In may cases, a claim must be filled within a certain number of days from Date of Service. You have a timely filing if you file a claim within this time frame. The timely filing time period is entered in the payor section of EMR-Bear. Alll the superbilsl that are nearing the due date and those that crossed the due date will be shown. TBD
To view the timely filing day
*You go to the Dashboard -> Billing -> Payor. And then hit the Edit Plan button for the plan of interest. Careful be sure to pick Edit Plan not Edit Payor. Find the Timely FIling field at the bottom of the screen. Note that it defaults to 90 days.

The timely filling value is the number of days after the date of service that claims must be filled to receive payment.
Invalid: The invalid tab has all the invalid super bills. To view why the superbill is invalid, you can click on the Error Log button.

After you fix the error click on the green validate button to revalidate it.

Ready : The ready tab will have all the superbills those are ready to go.
*In process * : This tab will have all the super bill that are not yet signed.
By user: This is were you can find all the superbill by users name.
** Finder** : This tab works like a filter
All : This will have all the superbills. All the invalids, ready and In process superbills
** New Superbill ** : This can be used to build a manual superbill.
At the bottom of the superbill summary, notice these icons
You will not have a Make Case icon in certain circumstances. If the underlying encounter form is not yet complete (it is not signed) you will see an "Opened" Indication. This was the case for the earlier superbill summary. If the encounter is signed, you will see a "Ready" status.
Editing Superbills
To make changes to a Superbill, click the Edit button.
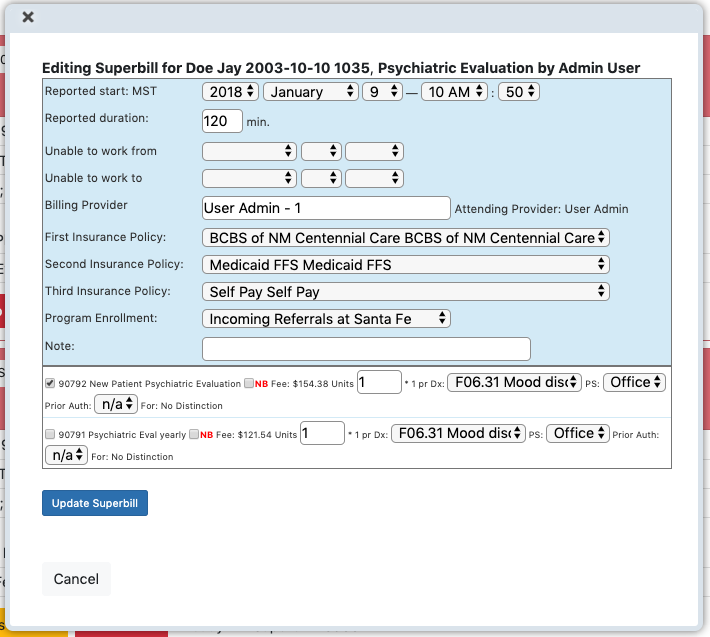
Click edit allows you to make any necessary changes, including changing the time, insurance and even the procedure code. When you are done making changes click the Update Superbill button.
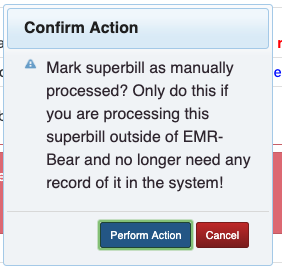
Mark as hidden
When you click mark as hidden button , that will hide that particular superbill from the list.
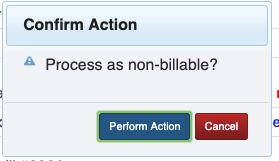
Do not bill
Do not bill button can be used to hide the superbill from the list and to zero the balance.
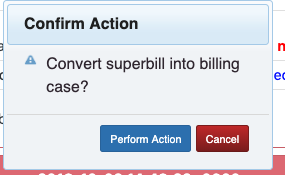
Make a case
Any Superbill you want to bill for needs to converted to a Billcase. Once you are happy with the state of a Superbill, click the Make Case button to generate the Billcase.
____________________________________________________________________________________________________________
Table of Contents
Other Billing Articles
- Fee Schedules
- Fees
- Payor
- Payor Plan
- Incident to Billing
- User credential for Billing
- User Roles
- Front Desk Billing Configuration
- Certification or Licensure number
- Provider number
- Adding location
- Billcase
- Billing configuration
- Billing the secondary and the tertiary insurance
- Printing claims
- Batch processing printable claims
- EOBs
- Posting Manual EOBs
- Specifying billing codes In the form
- Printing individual claims
- Claims
- Refund / Recoups payment
- Bundled service
- Taxes
- Aging report
- Payments
- Creating Statements/Copay Report
- Fixing a denied claim
- UB-04
- Claim printing settings

