

Client File Forms
Viewing a form in a client's file
- The client's file is the electronic medical record.
- Using the "Search Clients" search bar at the top right of the page, search the name of the client you want to edit the form of.
- Lyn Doe has been chosen here; we land on the client demographics tab.

- the rest of the demographics tab is not shown here.
- Click on the file tab to view and edit all forms.
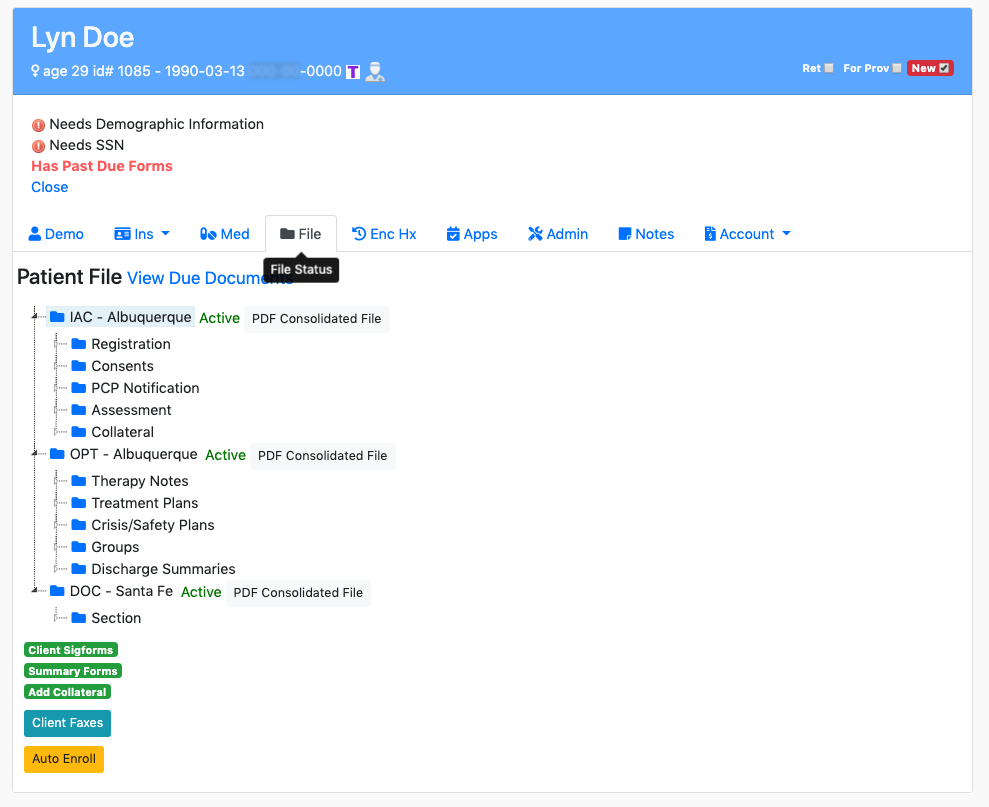
- The File tab at the top will show a hierarchical view of everything that has been documented for the client.
- Each top level item is a program and location that the current client is enrolled in.
- Under that you have each section within that program that you have defined. Sections are optional; you may not have any.
- Finally, the specific forms that belong to the program are listed.
- Here the line for the Initial Contact from is shown.

- Any part of the tree can be opened or closed by clicking on its line; the underlying data will be expanded below.
For each program there is a .PDF Consolidated file link. Clicking this will download a .PDF that contains all the information documented about the client in the selected program.
If the form is completed (i.e. signed), three buttons will appear to the right of the form name:
- Clicking the paper icon
 allows a quick view of information the form contains.
 - Clicking the PDF
 icon allows you to download the completed .PDF for this form.
 - Clicking the blue FAX button
 allows faxing the form (if this feature has been set up for your system.
- Clicking the paper icon
It also allows you to print a partial .PDF before the form has been finished.
The icon that looks like a little tag appears next to an incomplete form

It also allows you to print a partial .PDF before the form has been finished.
The red minus sign
 can be used to delete the form
####When a form is signed * In the example below, notice that one of the PCP Notification forms is green. [TBD fix. Need to show a signed document.] * This is a document that has been signed and can no longer be edited.
Starting a new form
- Some forms can be started directly from the file tab.
- In this case we can add a new PCP notification form by clicking the New button.
Previous form completion
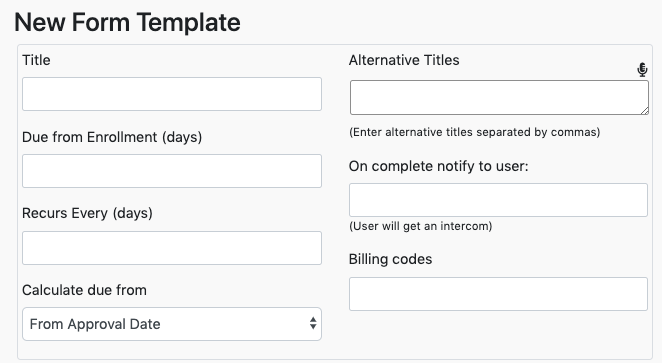
When a form is created, it is possible to specify when a form should be completed. For example, a form might be required to be completed within 7 days of program entry. To facilitate the start up of new agencies, a capability was added to the system to make it easy to upload an external paper data into the system during the start-up transition.
To enter the previous completion data for the form, click the "Upload Previous Form: button.

- Clicking the "Upload Previous Form: will open a window to upload the previous form.
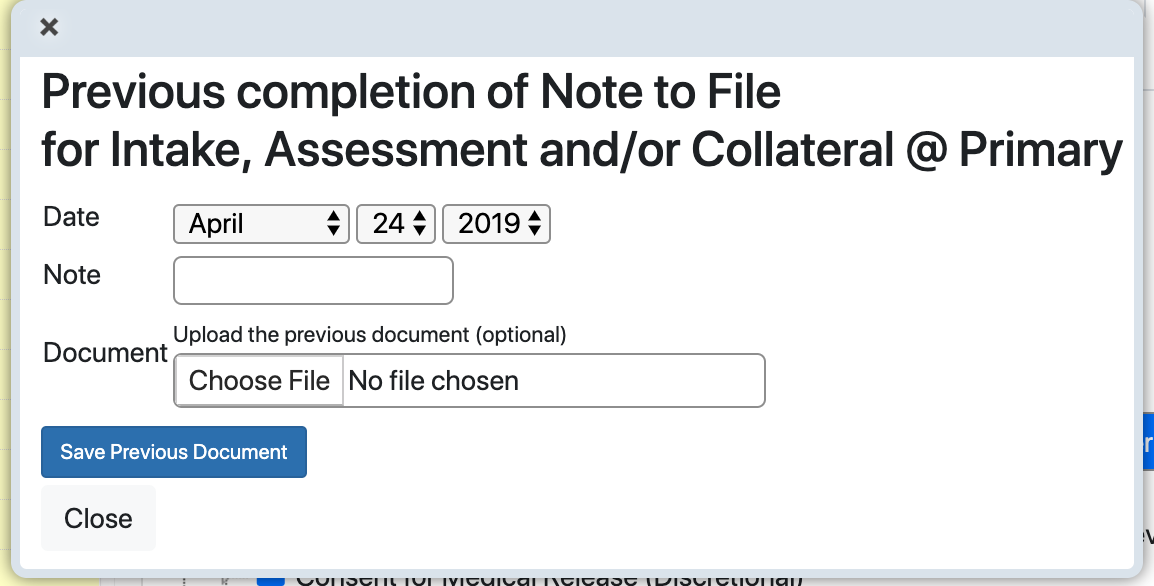
- Hit the Save Previous Document button to upload it to EMR Bear system.
Adding a form to the current encounter
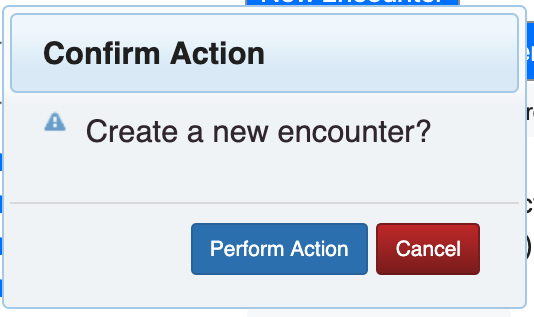
When an encounter form is open and you want to add a new encounter to it, you can do this by going to the client file by searching the name of the client and going to the file tab. Under the file tab go to the program and the folder and then click the blue New Encounter button to add that form to the current encounter.

You will be asked to confirm the action
You are now on the form to be completed.
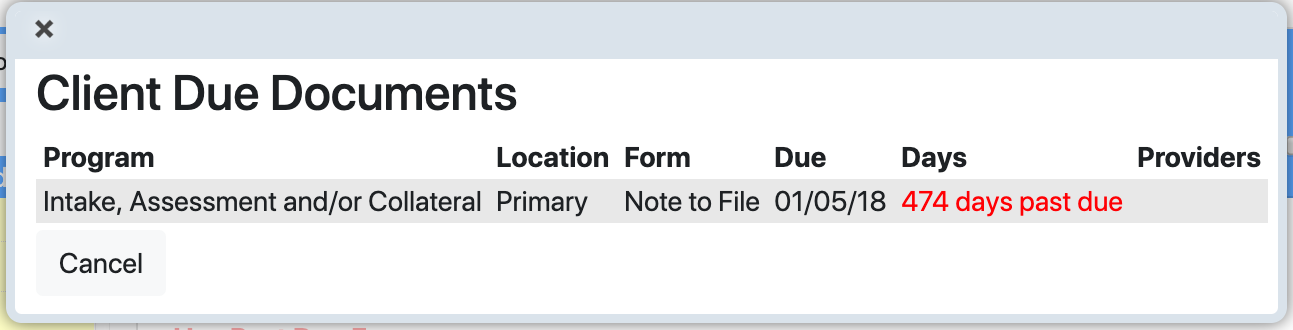
Due Documents
Click the blue link, View Due Documents next to Patient File to see which documents are due. This displays a dialog listing the due date for all programs that the client is enrolled in.

This will open up a list of documents that are past due or due soon.
Signature forms
- To add a Signature Form, scroll to the bottom of the File tab and click

- A list of available Signature Forms will be displayed.
- Click on the desired form to open it.
- The Signature Form will default to the program that was selected when it was created. It can be filed where you wish by choosing a location from the Attach to File Section drop down
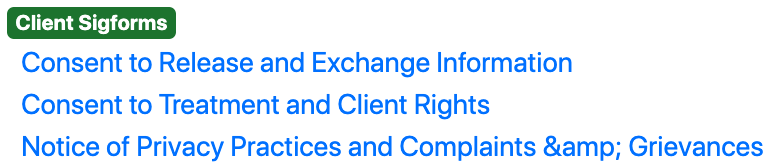
Table of Contents
Other Forms Articles
- Document Timeliness
- Viewing all the due documents
- Document Tracking
- Unfinished notes/Unstarted notes
- Client tracking.
- Clinical Template Forms
- Creating a New Form
- Prebuilt Models
- Adding and Modifying Models
- Client PDF
- Basic Models
- Special Input Models
- Treatment Plan Models
- General Use Model
- Group Notes Forms
- Custom Models
- Restrict Form View to Creator Only
- Save Incomplete Models