Cancelling an Appointment
To cancel an appointment, click on the grey "Cx" button
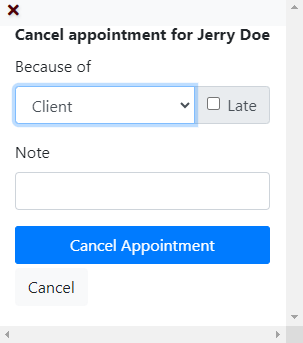
After you click on the Cx button, a box will appear that will allow you to enter a note as to why the appointment was cancelled.

- Click on the Cancel App button to complete the cancellation.
This will show the date and time the appointment was cancelled on the appointment bar.
Hover over the time to get the reason and note of the cancellation.
Once the cancellation action is completed, the appointment disappears from the calendar on the left.
Other Front Desk Use Articles
- Front Desk Overview
- Key Features for Front Desk
- Front Desk View
- Creating a New Appointment
- Confirmation of an Appointment
- New Client
- Check In
- No Show
- Copay and Receipts
- Reminder Calls
- Printing a Schedule
- Verification Worksheet
- Signature Forms
- Notes
- Client Information on the Front Desk
- Pending Letters

