Front Desk Overview
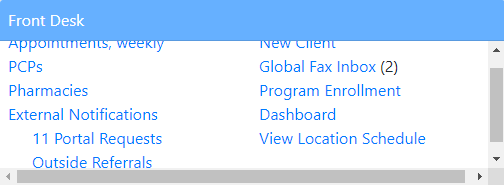
The Front Desk Dashboard is used by intake/admin/front desk staff to see clients that are scheduled for the day with providers in the system, process clients as they arrive for appointments (i.e. check clients in, collect missing demographic information, accept co-pay or account payments), and to process PCP notifications.
To open the Front Desk click on the Front Desk section title on the dashboard.
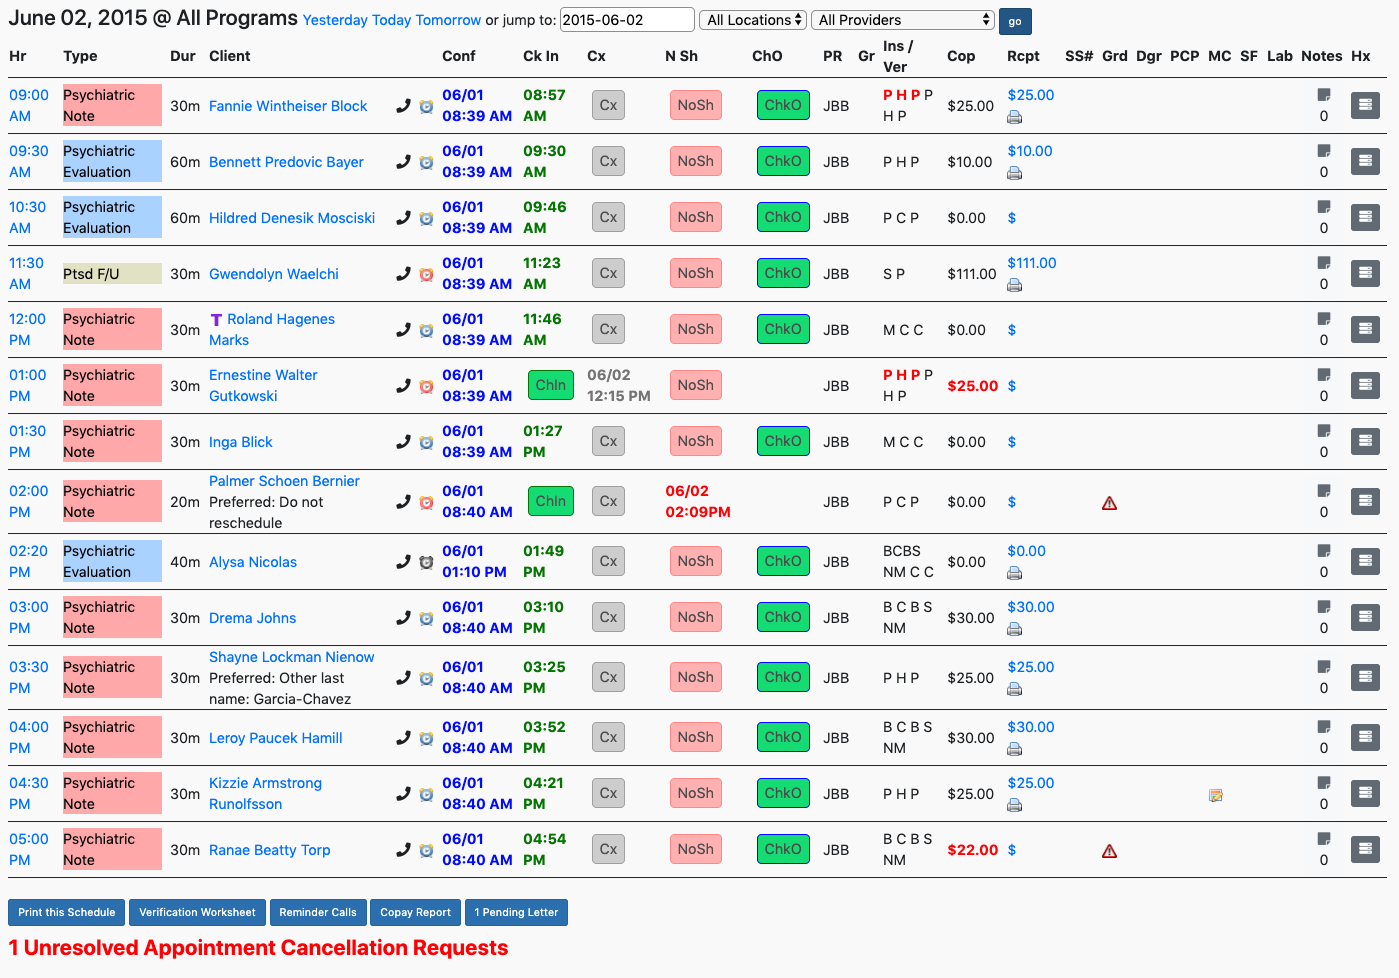
The first section shows the time, type of appointment, and duration of the appointment with the clients name:

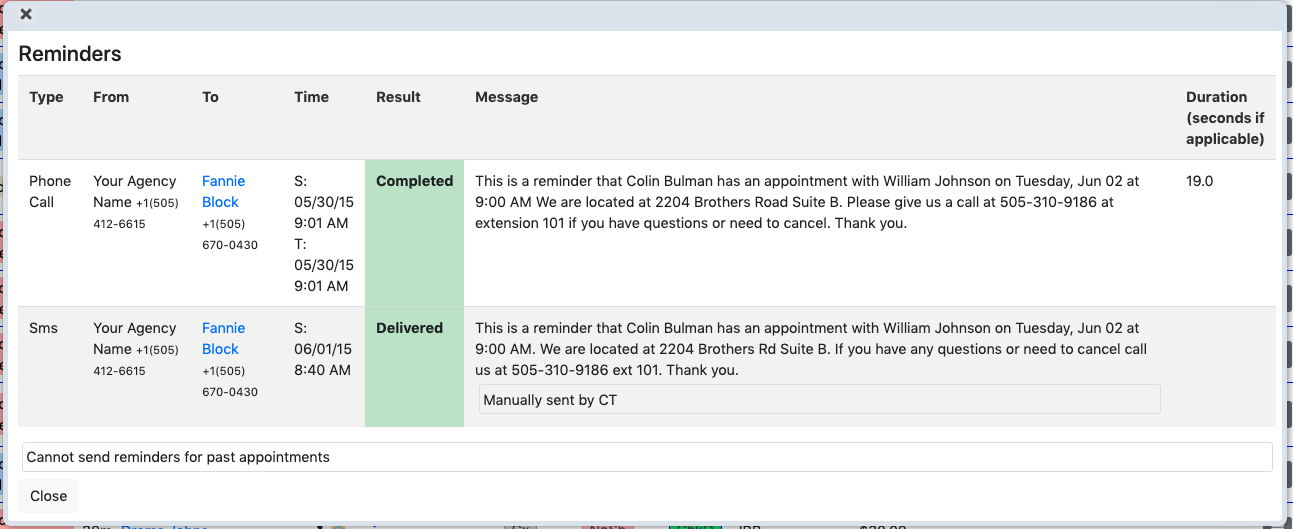
If you have enabled the phone call system for reminders in EMR-Bear this section helps you to know if the clients received a text message or reminder phone call. The clock symbol will change color based on the state of the reminder. If you click on that clock symbol it will tell you if the reminder was received or failed. Blue clock means a message was left or text message. Red clock means it failed and if you can click on that symbol, it will tell you why it failed.

The "conf" means confirm the appointment. This has to be done manually for each client. You can click that button if the client confirmed their appointment either by calling back or by the fact they received a text or message. It can be used also if you call the clients yourself.

The next section is the check-in system. It allows you to check them in, if they were a cancel or a no show. Click on the button that applies.

The "PR" field indicates what program the client is in.

The "Gr" means group and when you schedule the clients in a group there will be a symbol as seen here:
 .
. The "Ins / Ver" lets you know what insurances the client has. It will show the primary, secondary and any other programs that might be paying such as grants, etc. that are in the insurance section under the client. Hover over the single letters to see more about the insurance. If the letter is shown in red it indicates an expired policy.

The "cop" means copays. That information comes from the clients information that is put in the insurance tab. If a client owes a copay or is a self-pay client there should be an amount in this Frontdesk field.

Once you receive the payment you can put that under the "Rcpt" where you click on the $ sign.

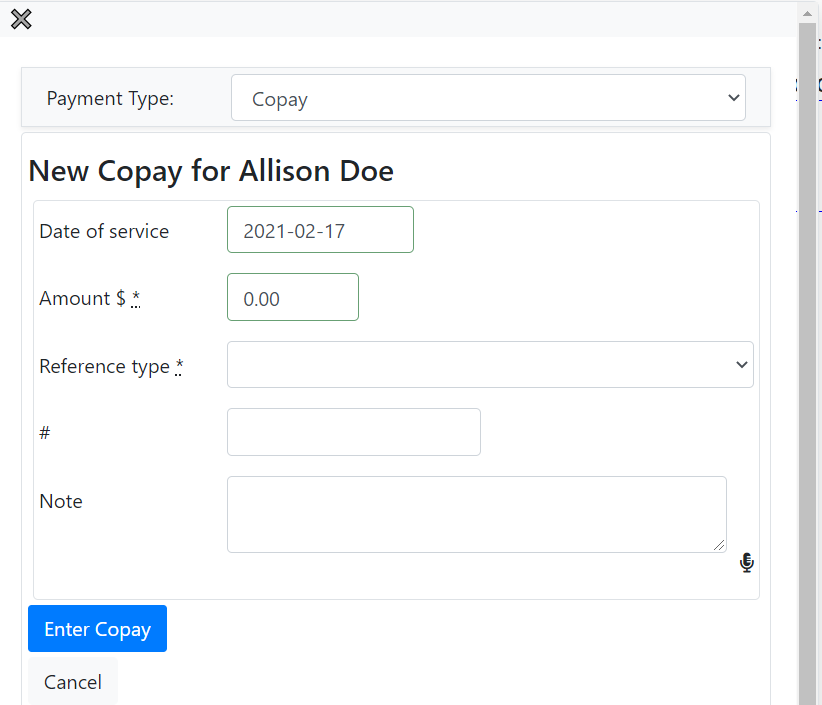
Clicking on the $ brings up the New Copay entry screen.
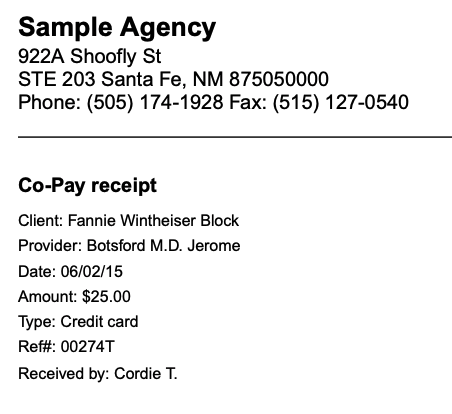
You can also print out a receipt for the client once it has been entered from the front desk where the print symbol is and it will produce a pdf statement.

The last symbols for frontdesk help you to make sure you have all demographic information for the client and consent forms that need to be signed. If there is a red triangle , it is missing information. Consent forms that need to be signed show up as
  . The symbol
  is a history of changes made for appointments. If you open it up, it will give you a log of any changes made to that appointment and by whom. To add a client note, click on
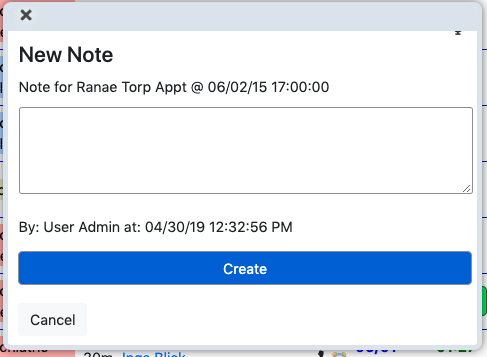
Complete the note and save
Other Front Desk Use Articles
- Key Features for Front Desk
- Front Desk View
- Creating a New Appointment
- Confirmation of an Appointment
- New Client
- Check In
- Cancelling an Appointment
- No Show
- Copay and Receipts
- Reminder Calls
- Printing a Schedule
- Verification Worksheet
- Signature Forms
- Notes
- Client Information on the Front Desk
- Pending Letters

