

Check In
- After you get to the Front Desk page, a list of appointments will populate on that page.

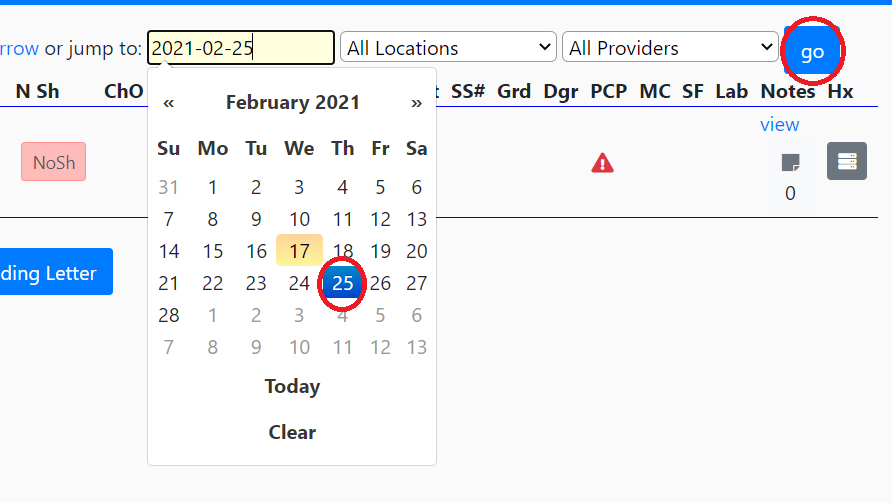
- If you want to choose any other date, you can do that by clicking on the date picker. Once the date is displayed, click the blue go button .
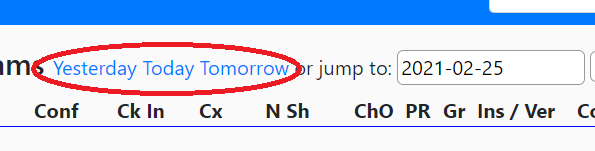
- Or you can also jump to Tomorrow, Today or Yesterday to get the appointments for those days.
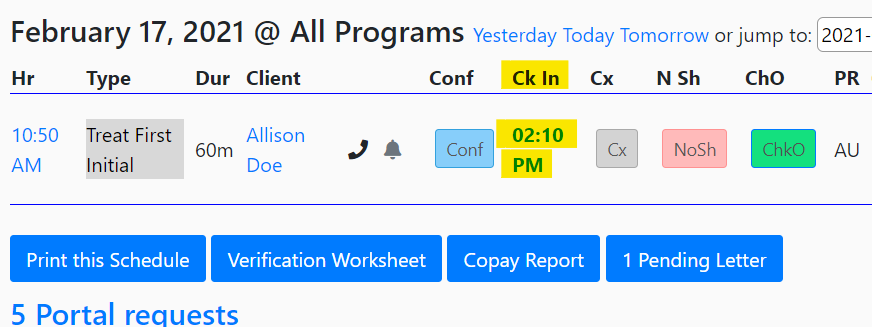
To check in a client for an appointment you can click on the green "Chin" button.
Once you click the button, a box for confirmation will appear. Click the blue "Perform Action" button.
Once you Click the "Perform Action" button, you will see a check-in time, the Provider will also see this on the computer screen and know that the client has arrived.
Other Front Desk Use Articles
- Front Desk Overview
- Key Features for Front Desk
- Front Desk View
- Creating a New Appointment
- Confirmation of an Appointment
- New Client
- Cancelling an Appointment
- No Show
- Copay and Receipts
- Reminder Calls
- Printing a Schedule
- Verification Worksheet
- Signature Forms
- Notes
- Client Information on the Front Desk
- Pending Letters