

Setting Up Reminders/Fax
AUTOMATED REMINDER CALLS AND/OR TEXT MESSAGES.
EMR-Bear can send automated reminder calls or text messages called triggers. Only Admin Users can configure reminders.
- To set up reminders, go to Dashboard > Admin > Reminder/Fax Setup.
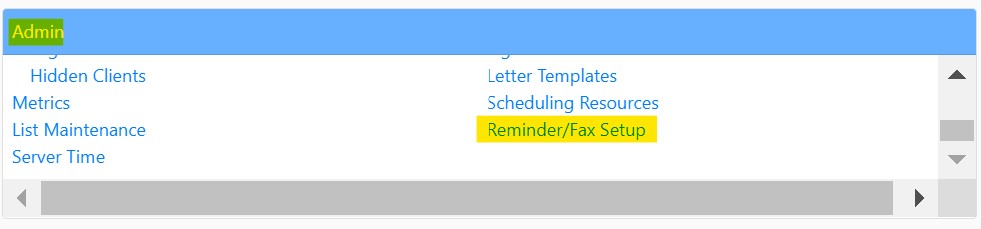
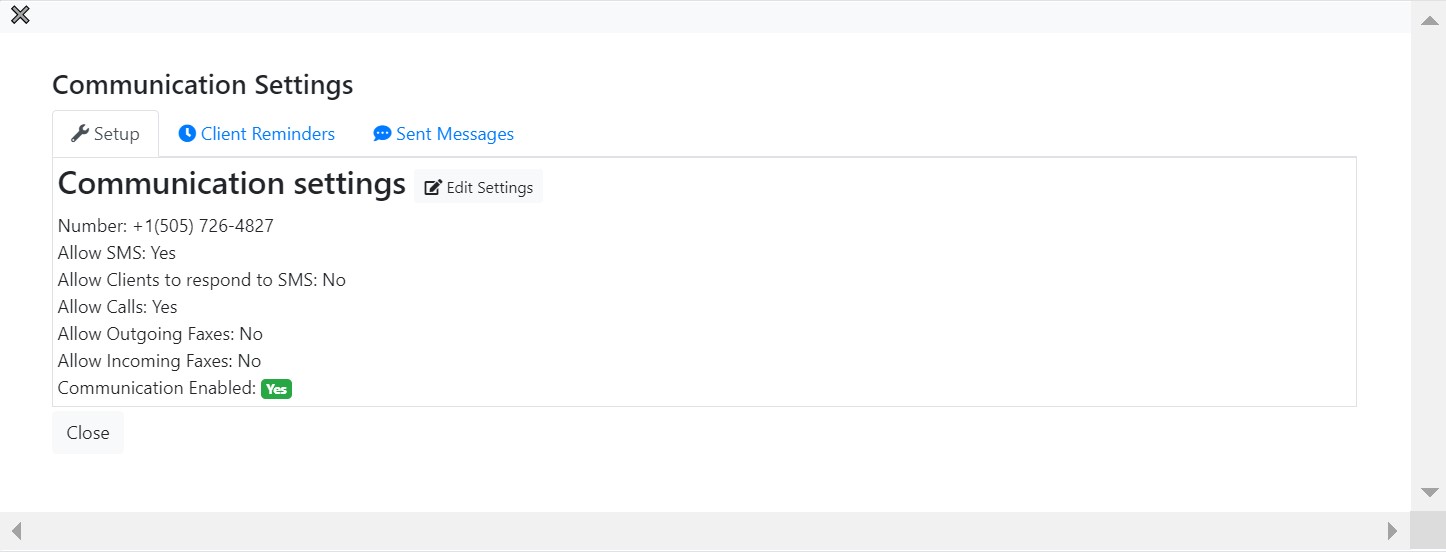
- Once you select Reminder/Fax Setup a screen will open up to show your current settings.
- If reminders are not yet configured, then the wizard (a mult-step process) will guide you through setting it up.
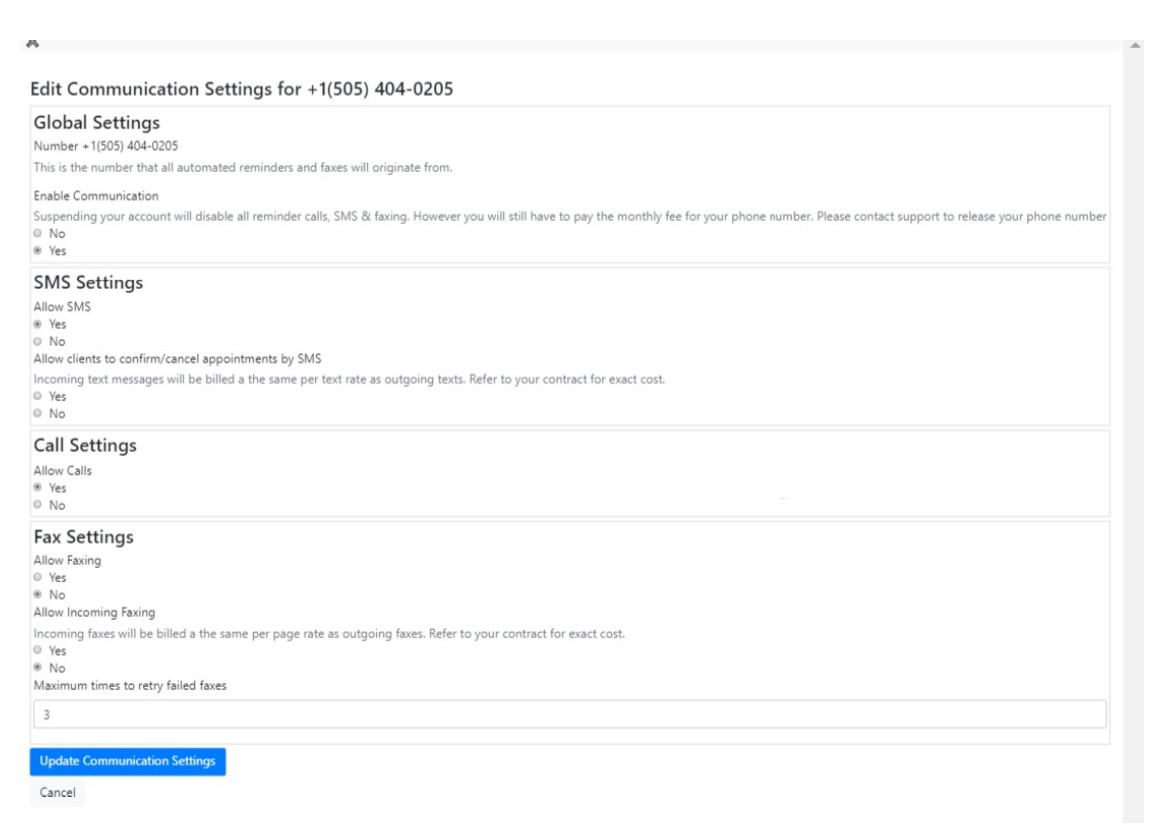
- Once the setting are open you can select the best phone, text and fax setting for your agency.
FAX
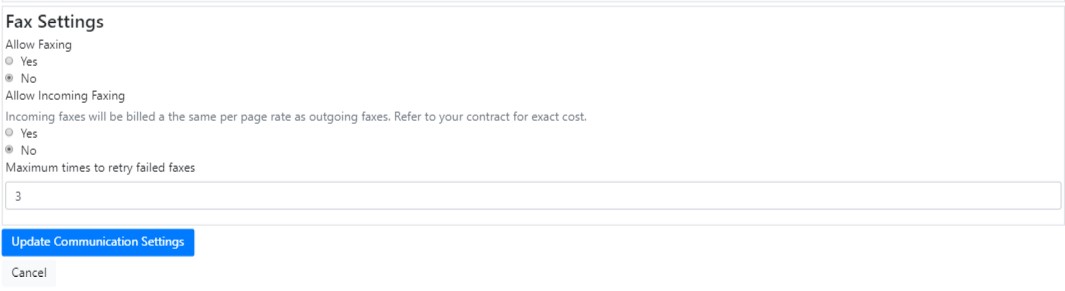
- Make sure you Allow Faxing, and then click on "Update Communication Settings". The last setting option is the set number of attempts the system will send out if the first attempt fails. The system default is 3, this number can be adjusted to meet the providers need.
PHONE NUMBER SETUP
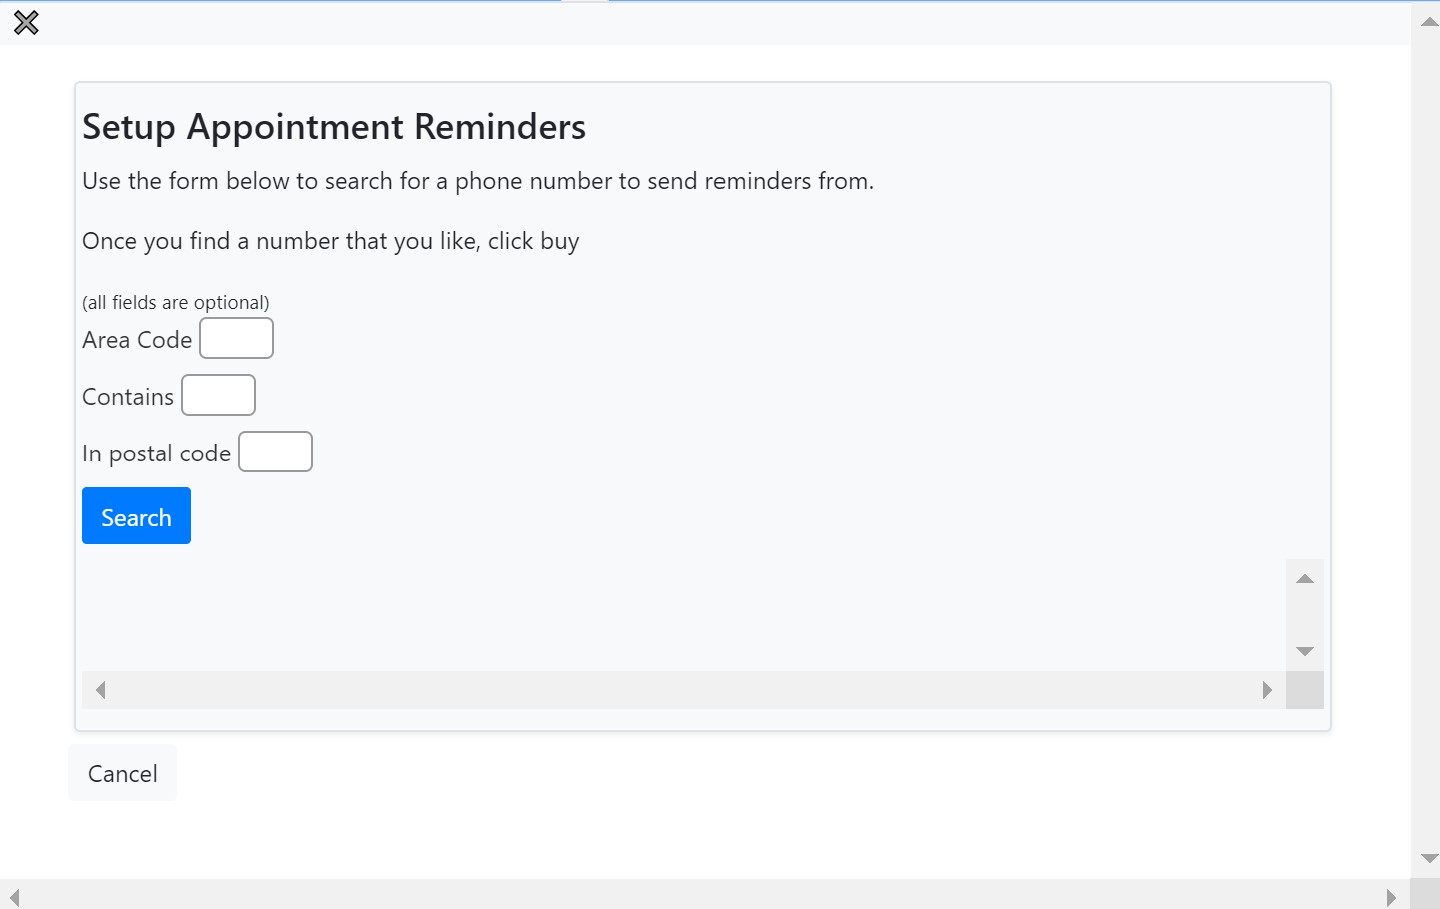
- EMR-Bear will need to setup a phone number for you to make and send reminders. To begin setting up go to the Setup tab. A box will open, you can choose your number based on a search for available phone numbers in your area.
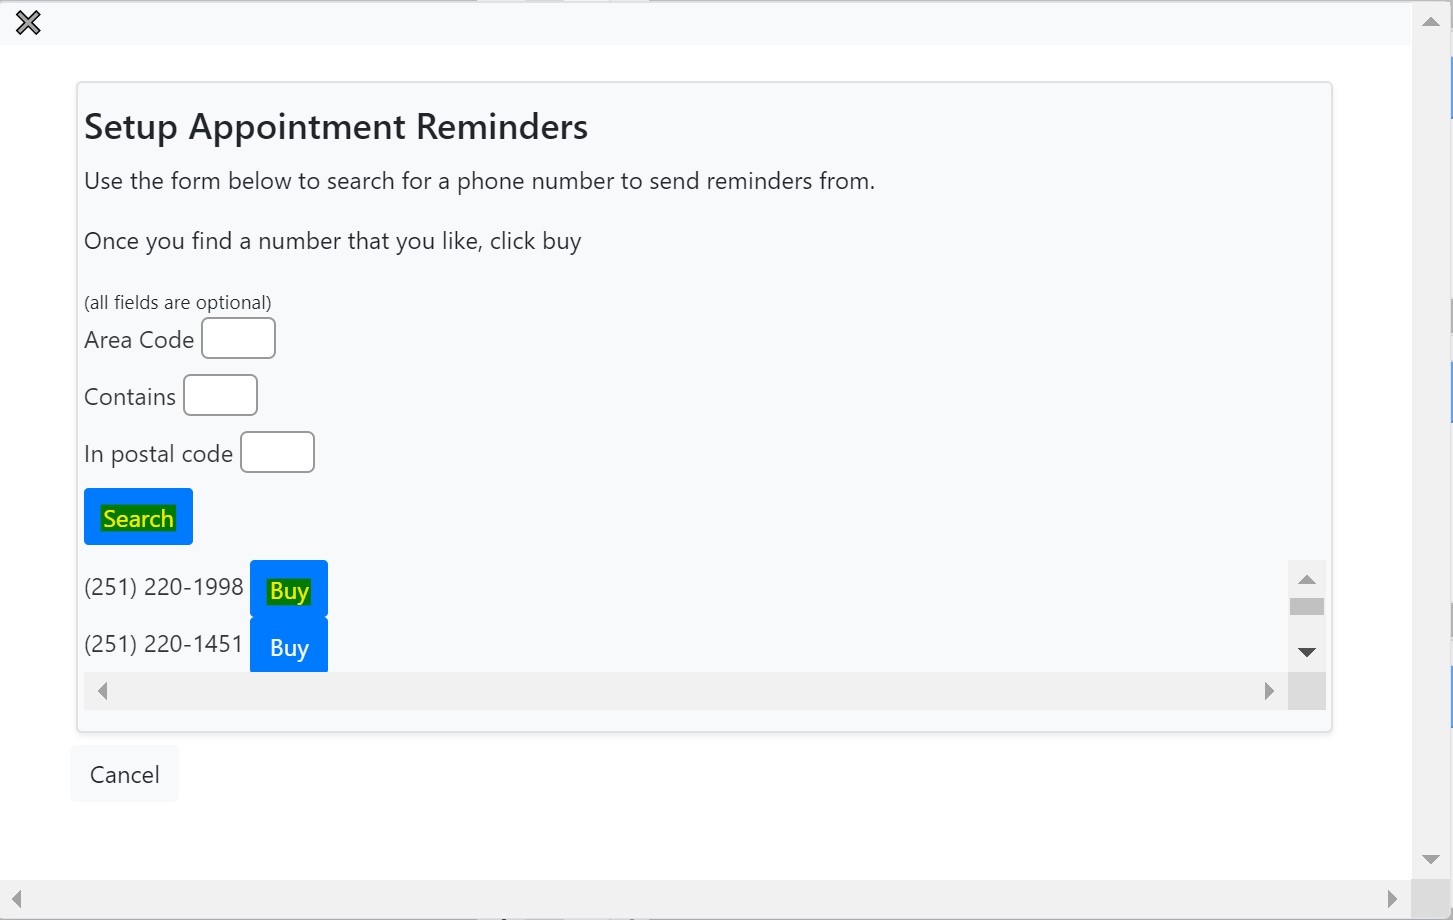
- Once you select a phone number and click "Buy", the number will be enabled for you to send messages. The next step is to enable your preferred settings.
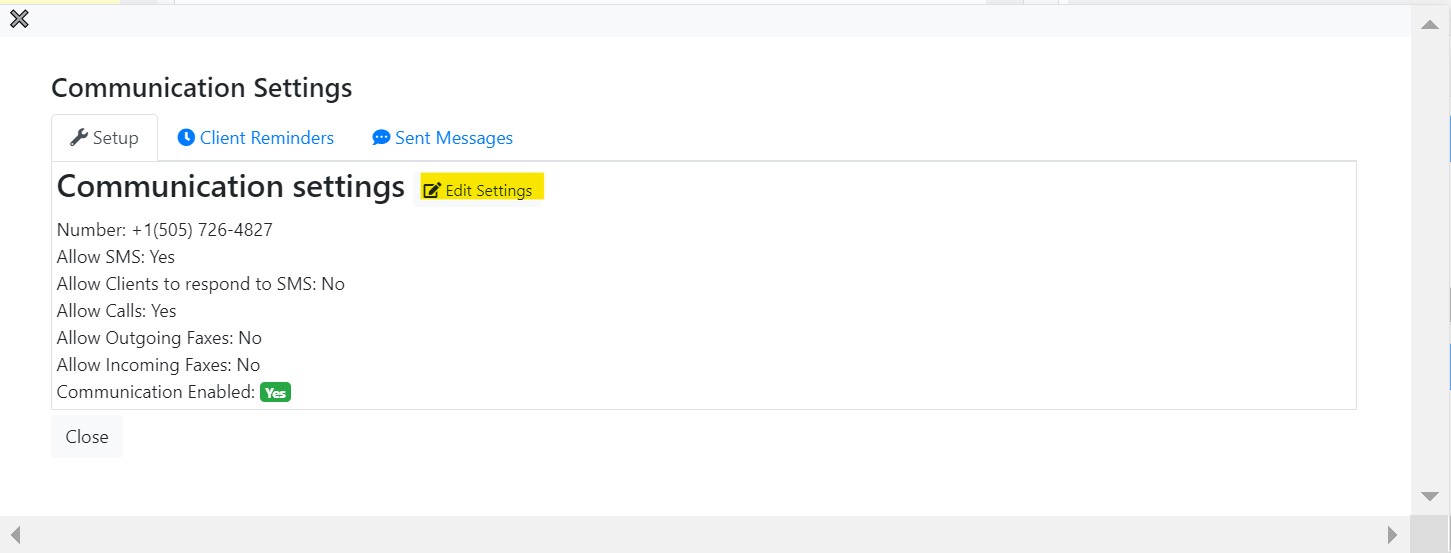
- You can access your communications settings under the "Setup" tab. Select the "Edit Settings" icon.
SETTING UP TRIGGERS
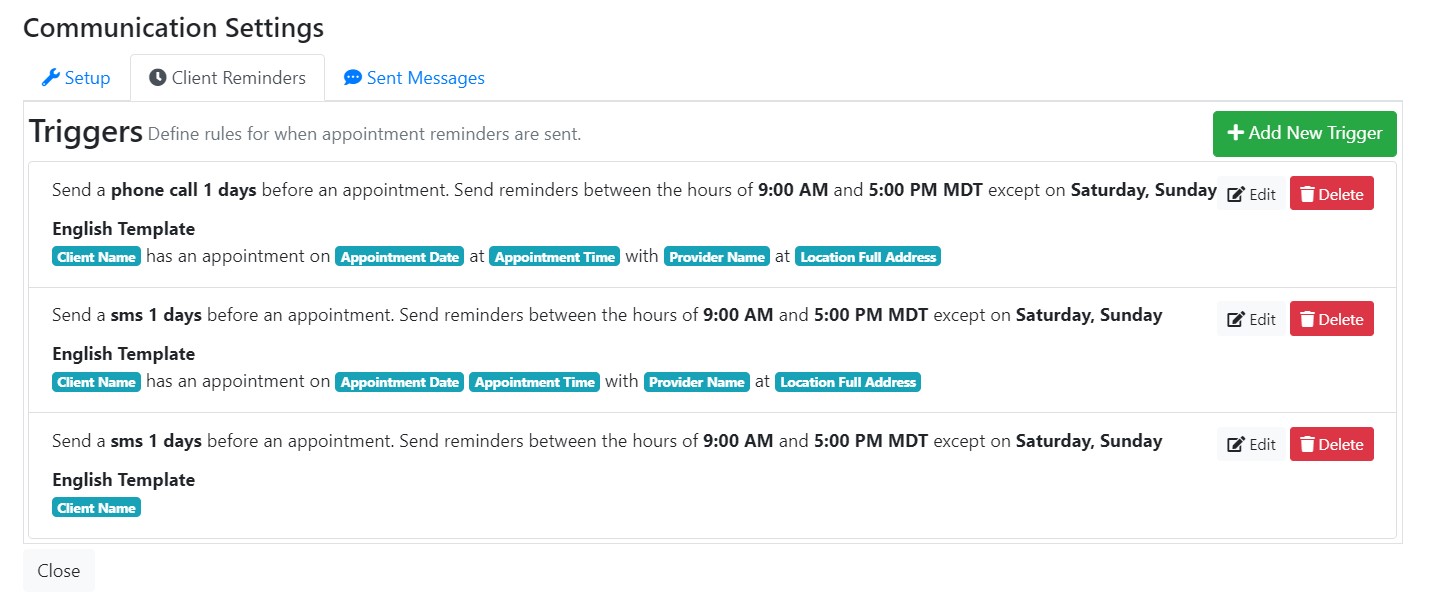
- Go to the "Client Reminder" tab.
- To create a reminder start by clicking the green 'Add New Trigger' Icon.
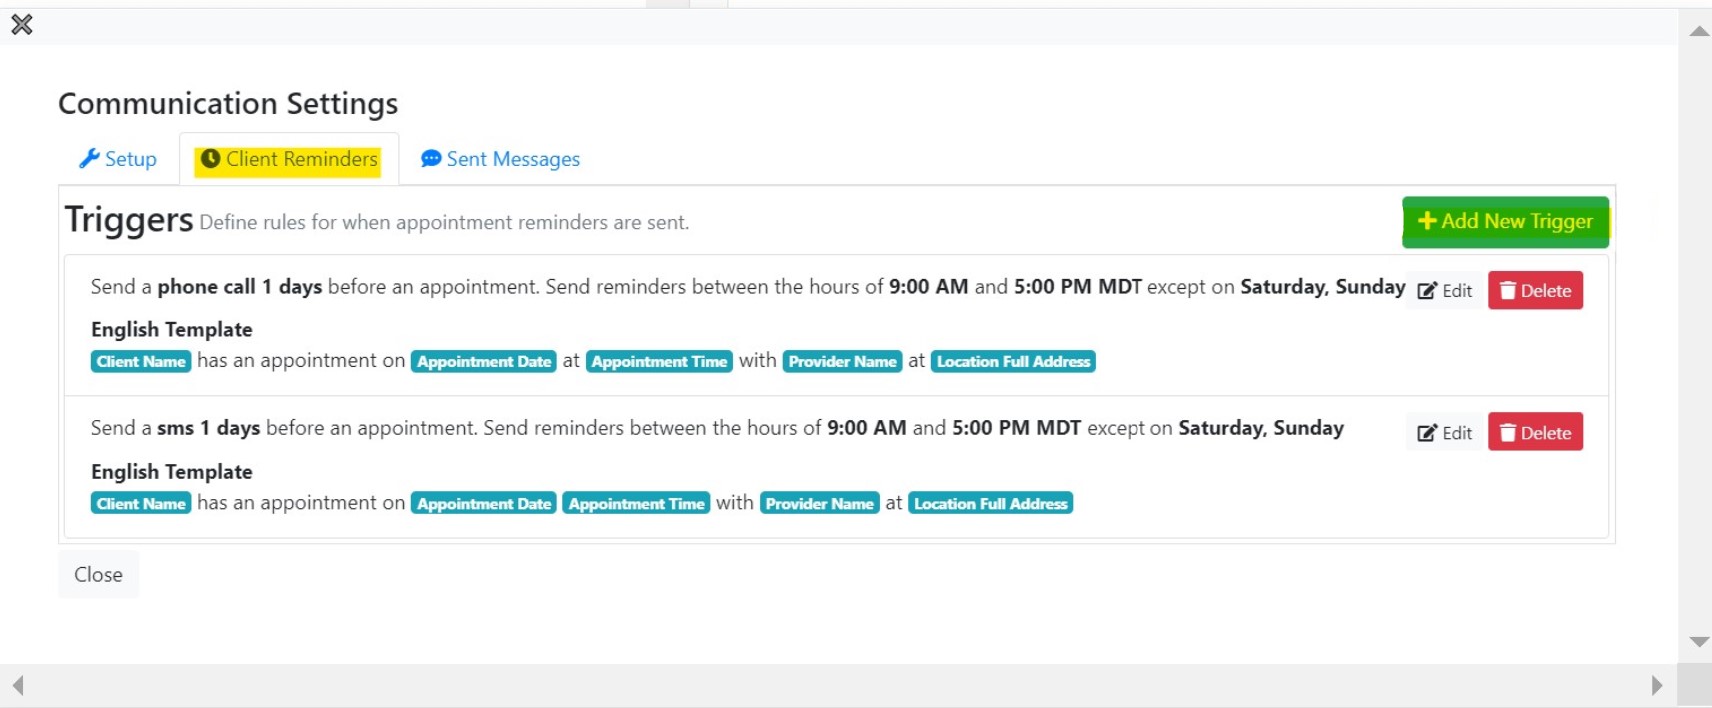
- Triggers are the required template of information needed to send out reminders via phone or text message. Triggers are automatic reminders.
CALL/SMS REMINDERS
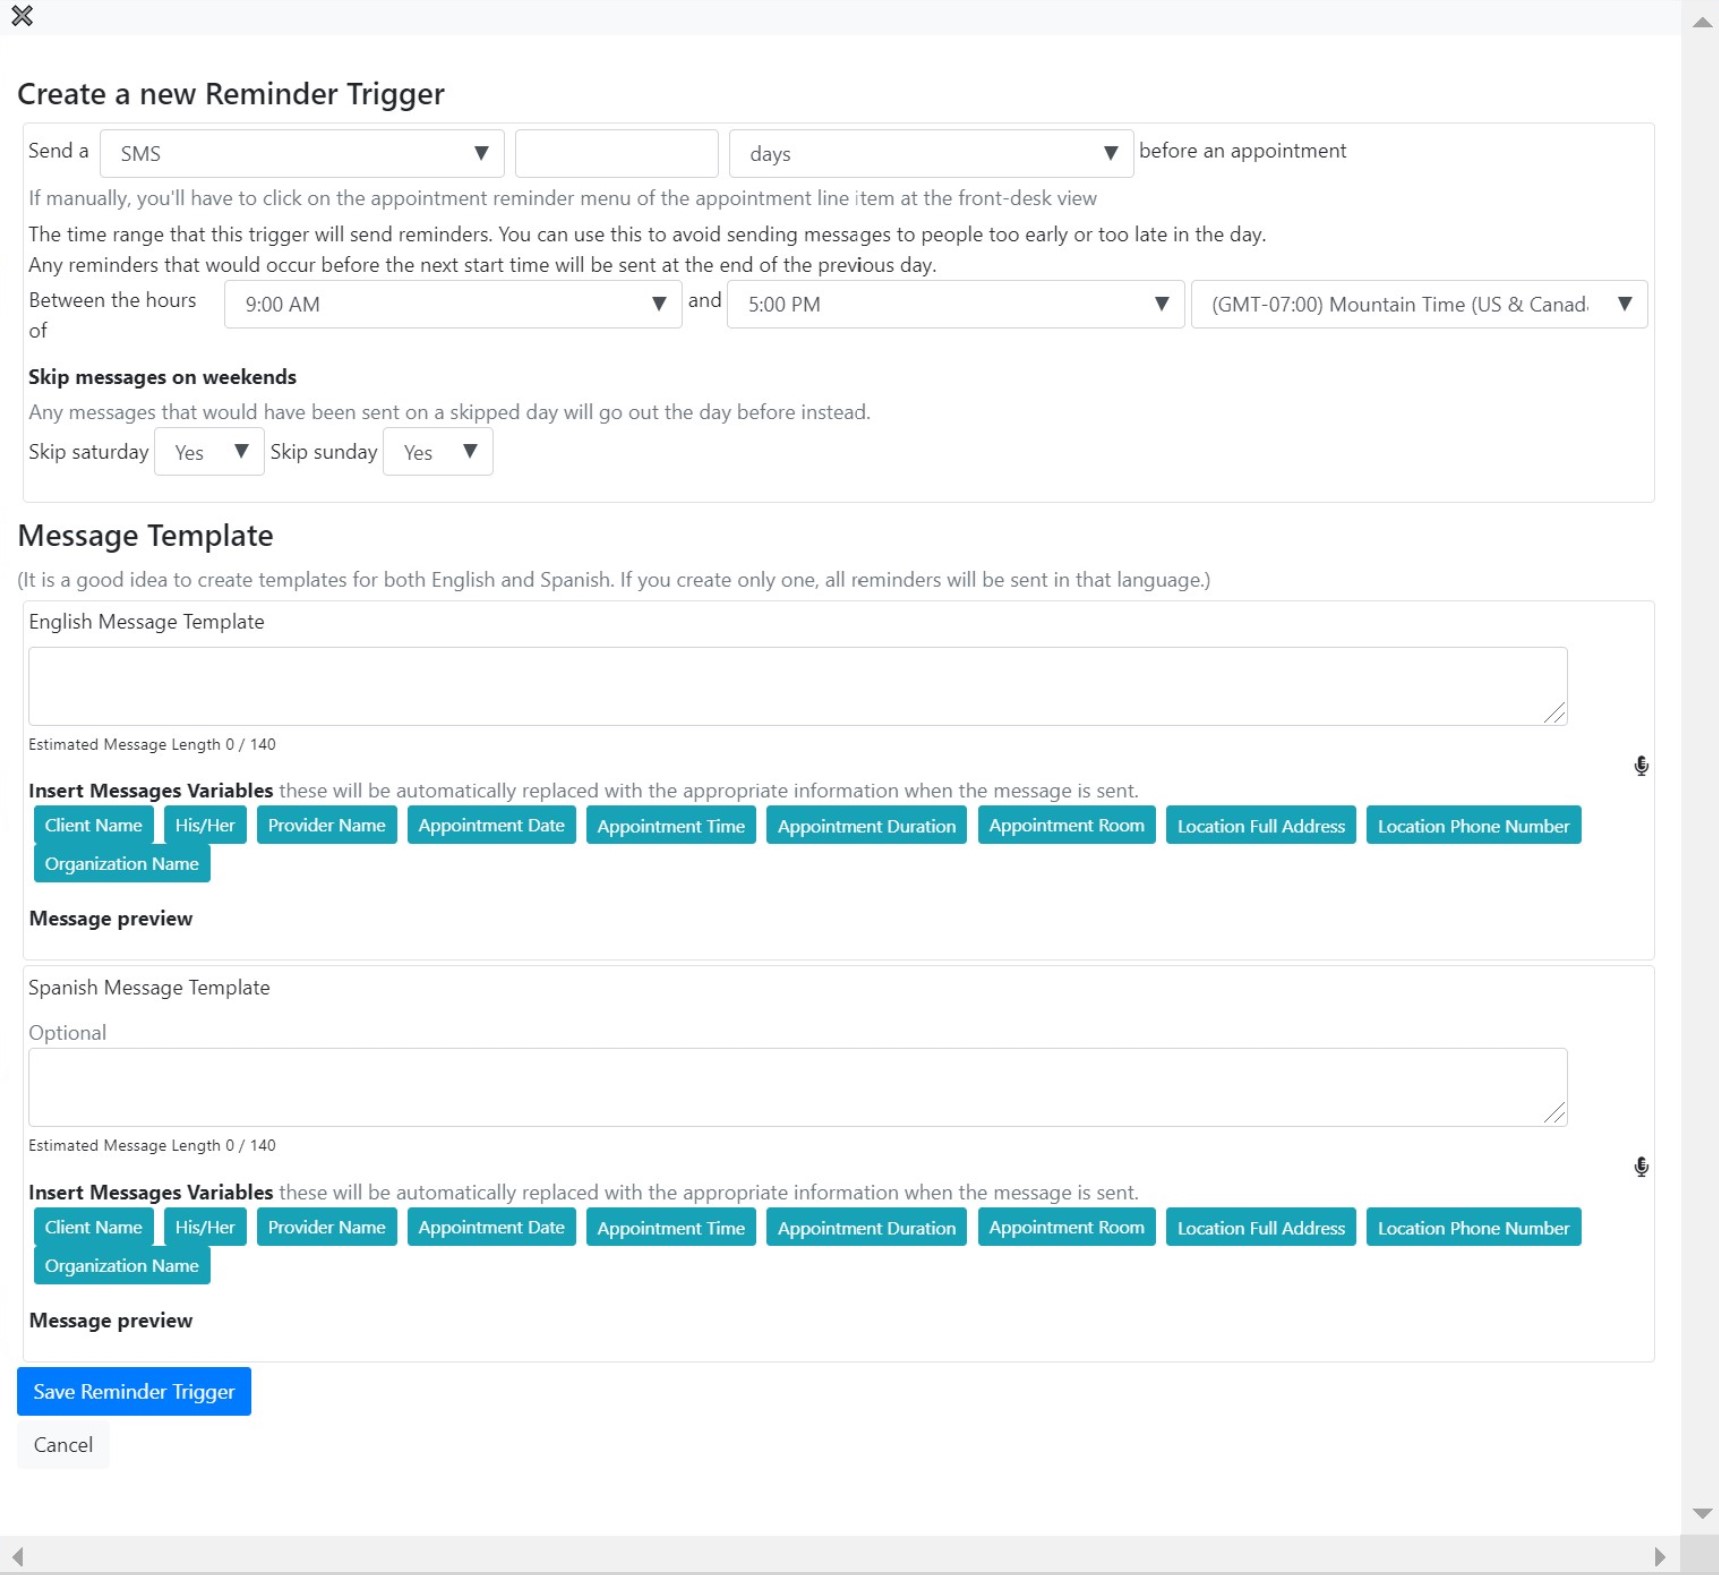
- The first step is to select the 'Call' or 'SMS' trigger.

- You can select how far in advance you would like to send a reminder.

As shown below, the automatic range is from 9am to 5pm, therefore limiting the system to sending reminders only between those hours. These hours can be changed to the providers preference. The reminders can be disabled for weekends by selecting Skip Saturday/Skip Sunday. NOTE: If a client has an appointment scheduled before the designated trigger time, that client will not receive a reminder.

- The box below is where you type the template notification the client will receive. The Message Variables can be used to further streamline the process of creating notifications, and there is a Message Preview option to review the notification before approving it.
Notifications in English are mandatory. However, we recommend utilizing both English and Spanish. When a notification is created in both languages, clients will receive the notifications in whichever is their preferred language.

Click the "Save" button. In this example, call reminders are now configured to be sent one day before an appointment.
HOW TO SEND A REMINDER
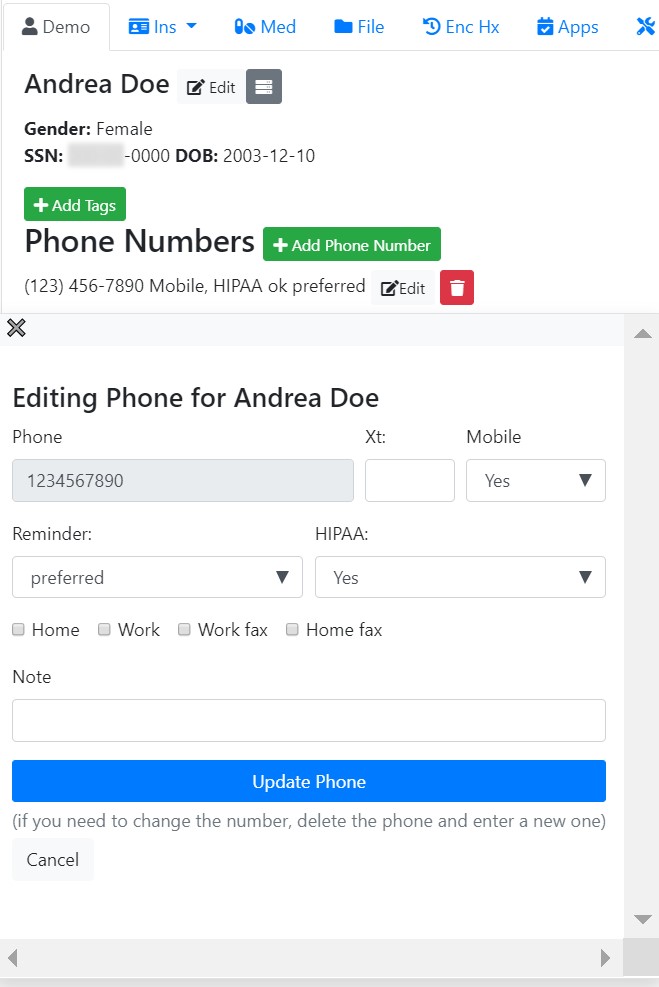
Start with the client demographics
Select the green "Add Phone Number" button. Input the desired information, select the reminder preference and HIPPA approved contact.
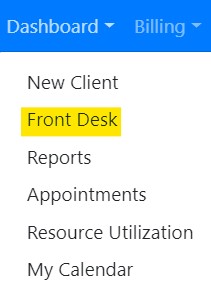
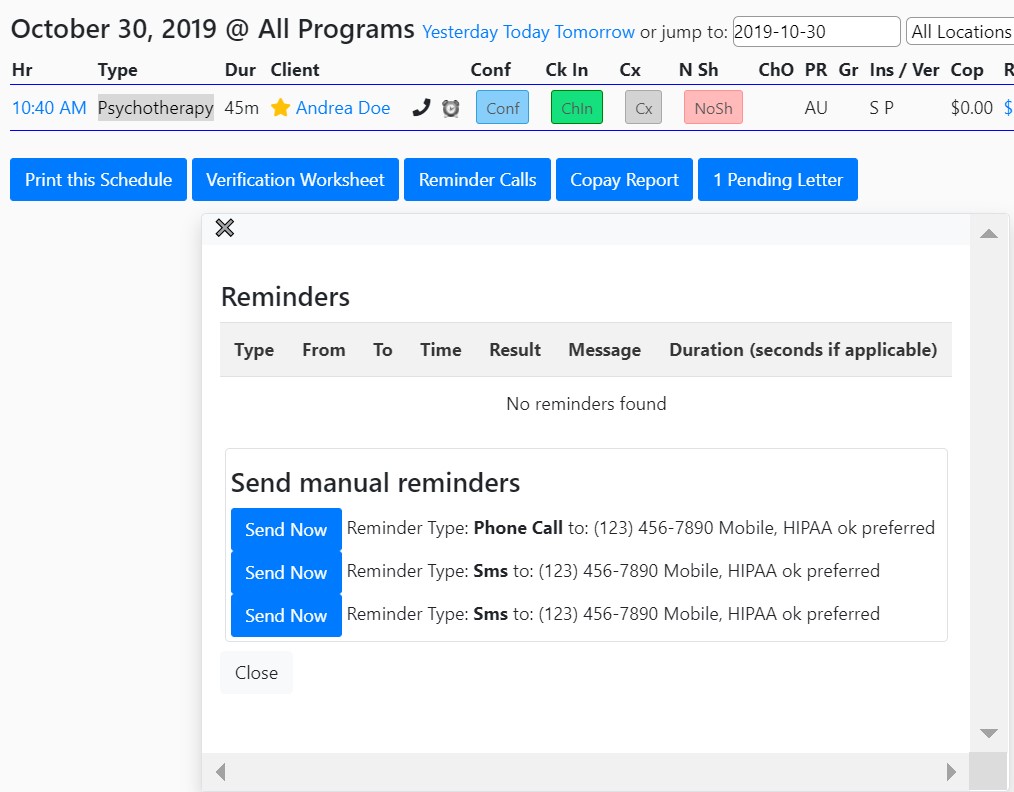
- To send out a manual reminder go to your Front Desk.
- You can locate your Front Desk from the Dashboard drop-down menu.
- In your Front Desk select the bell to open the client menu and select the type of reminder you want to send out.
- You can see what verifications have been sent using the Verification Report
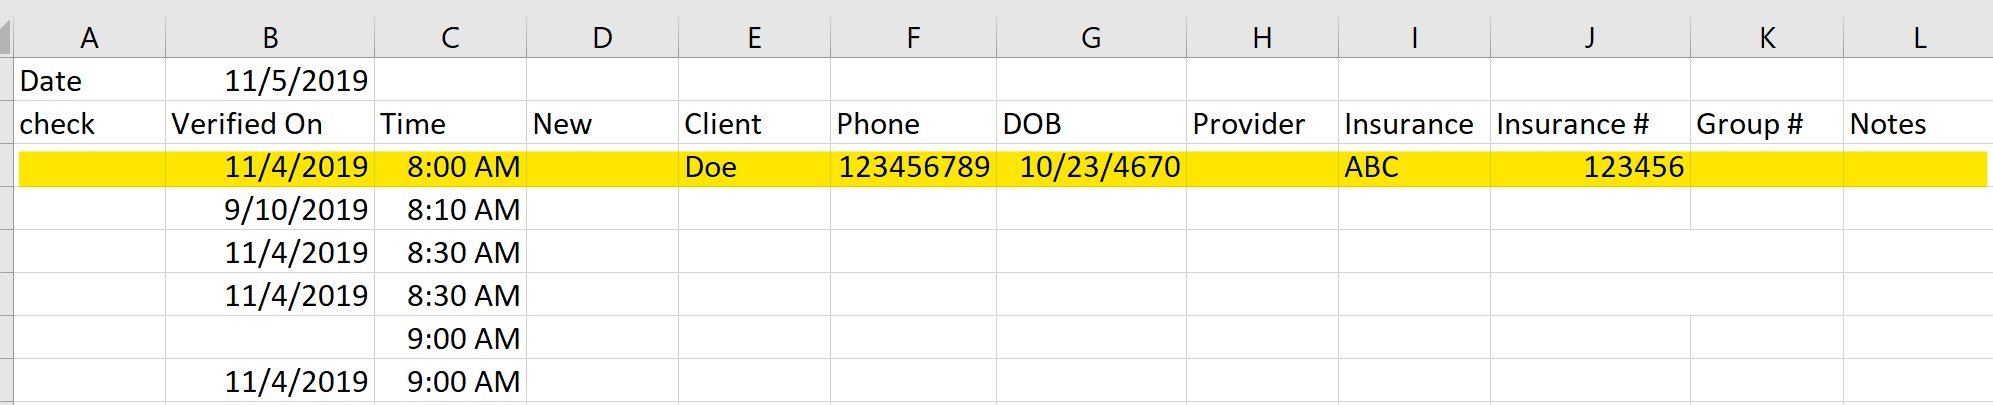
- You can select the "Verification Worksheet" button to generate and download an Excel report reflecting what appointment reminders have been sent.

- The report will reflect when the appointment was verified, appointment time, client/insurance information.
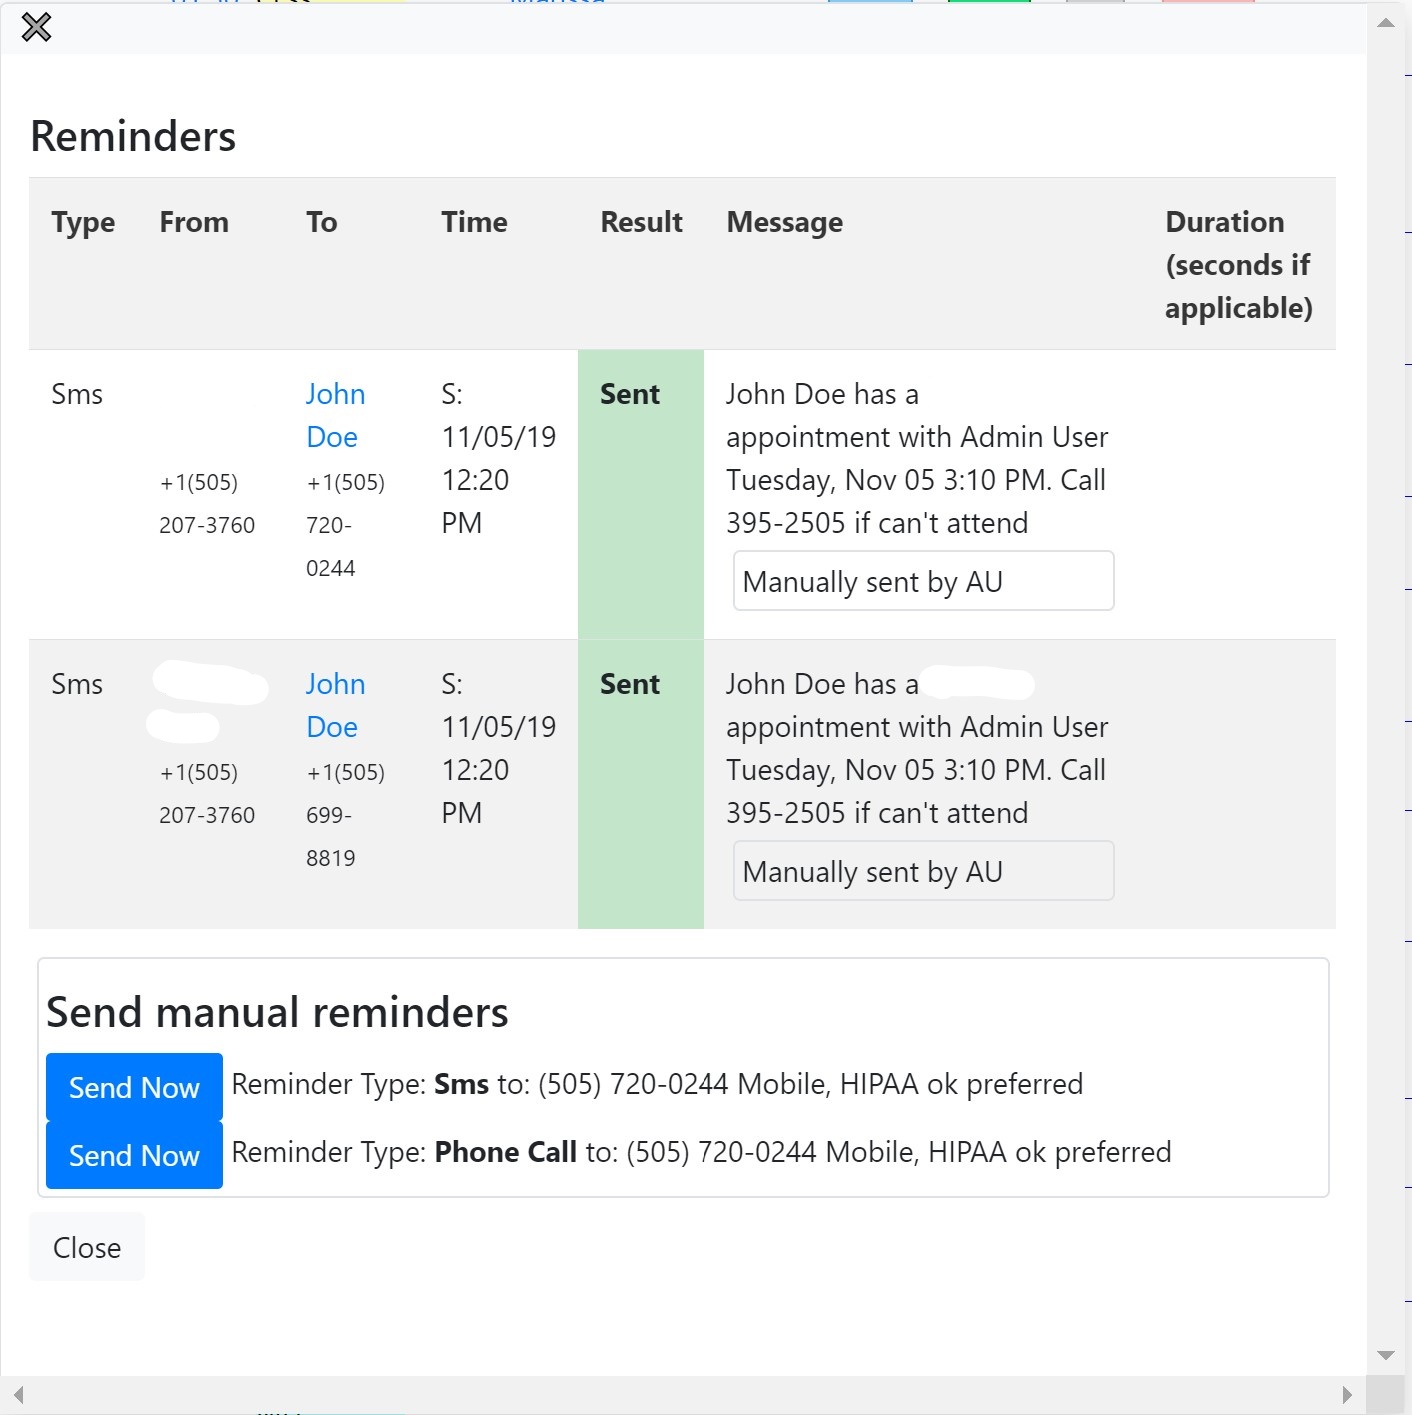
REMINDER MESSAGES STATUS
- At the Front Desk, select the bell icon.

- Click on the icon to show reminder status.
REMINDER ICONS
Notice that there are 2 reminder icons: a bell and a telephone. Their colors convey information. Some sample icons are shown below.
- If the bell is grey there are no reminders being sent to this client but client has approved being contacted.
- If the bell is orange. This is relevant specifically to phones calls. It means the call was connected less than 25 seconds and all reminders have been successfully delivered.
- If the bell is green. This is relevant specifically to phones calls. It means the call was connected more than 25 seconds and all reminders have been successfully delivered.
- If the phone icon is red and crossed out. This means that the client has specifically requested to not be contacted.
- If the phone icon is yellow this means that there is no phone number on file.
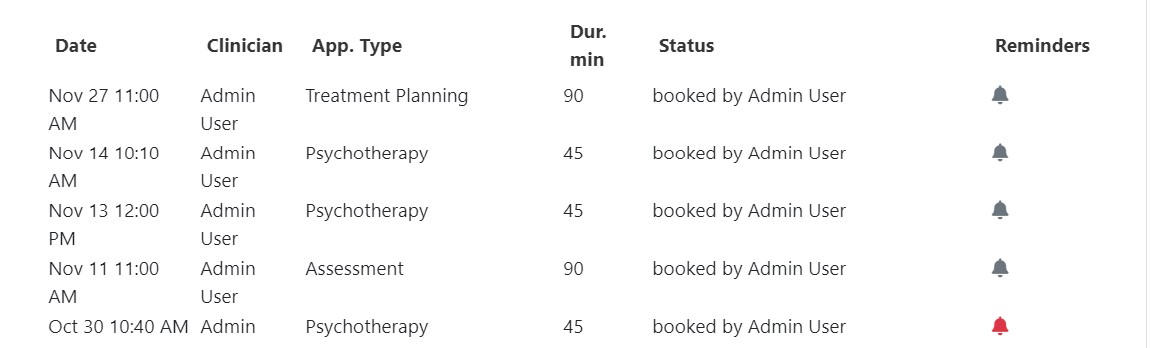
- There are links to see the reminder messages in other places as well, such as at the list of appointments for a client.

The system sends notifications on the hour, as long as its within the given range of time (e.g. from 9am to 5pm).
When a reminder is set for one day before a Monday appointment, and calls/texts are shut off for Saturday and Sunday, then the reminder will go out on the previous Friday.
The EMR-Bear Support Team can assist you in setting up your reminders.
Table of Contents
Other Initial Setup Articles
- Accessing EMR-Bear
- EMR-Bear System Organization
- Configuration Parameters
- Agency Locations
- Changing Your Password
- Changing a user's Password
- Credit Card Set Up
- Assigning Clients to a Program
- Two Factor Authentication (2FA)
- Setting up Google Authenticator for 2FA using your browser
- Password Expiration Setup