

Transportation System
After enabling transportation, six new sections must be configured before the transportation system can be used:
- Fees Schedule
- Bill Policies
- Agencies
- Adding Cars
- Adding Drivers
- Users
The steps involved in configuring these sections are explained below.
Adding Transportation Billing Policies
A transportation billing policy must be added to the system before a fees schedule can be defined.
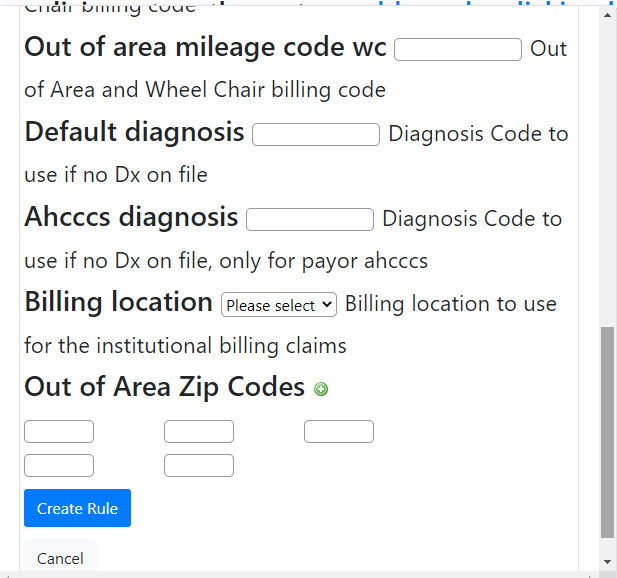
To add a billing policy, click on the Billing tab (on the menu bar) > Policies. Then click on the icon  next to Transportation Billing Policies to open up the following form to fill out the billing policies.
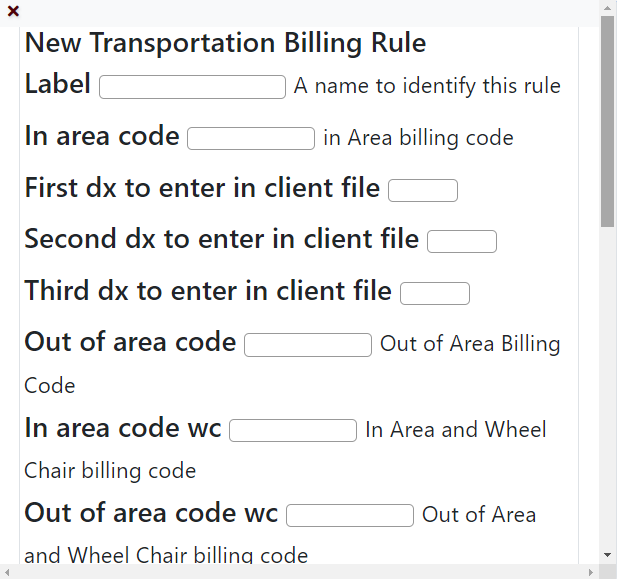
The fields for the form above are explained below:
- Label: Name for the billing policy.
- In area code: The code from the fee schedule to bill In area service
- Out area code: The code from the fee schedule to bill Out area service.
- Mileage code: The code from the fee schedule to be used when billing miles. To enter the codes with a modifier, leave a space between code and the modifier. For eg: TAT(SPACE)TN.
- Billing location: Enter the billing location.
- Out of Area zip codes: Enter out of area zip codes here.
Agencies
Enter the name and location of the agencies here which is going to make a transport request. To add agencies to the system, go to Dashboard > Transportation > Agencies.
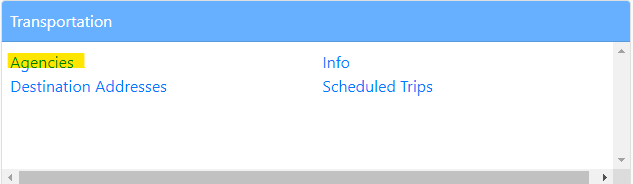
Click on the green plus icon next to Agencies for which Transportation is provided.

This will open up a form to add new agencies to the system.
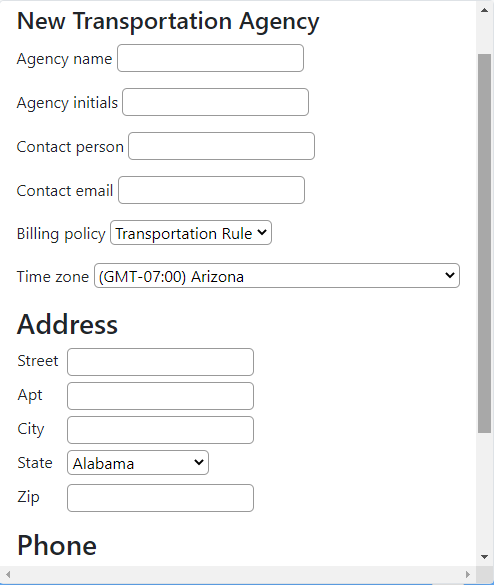
- Agency name: Enter the name of the Agency.
- Contact person: The name of the person who you are going to contact at the agency
- Billing policy: Billing policy the agency uses.
- Address: Enter the address and the zip code of the agency.
- Phone: Enter the phone number of the agency.