

How to Set Up a User With Rx Prescribing Permissions
First, switch the Rx function to "live:" (Performed by User with Admin Privileges)
Go to EMR- Bear dashboard
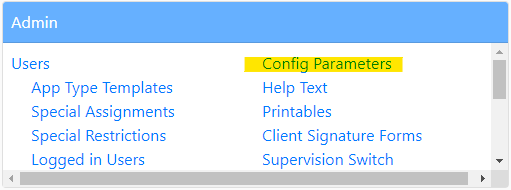
Go to the Admin section/box
Click on the Config Parameters link
Scroll down to the Prex section
Change the status from False to Production and click the Update button for each of the following entries:


Once that step has been completed; naviagate to the user profile(s) that need the ability to prescribe through the Rx feature, by:
Go to EMR- Bear dashboard
Go to the Human Resources or Admin sections/boxes
Click on the Users link
Click on the name of the user who needs Rx access
You will find an Rx box to the right of the user's name and credentials
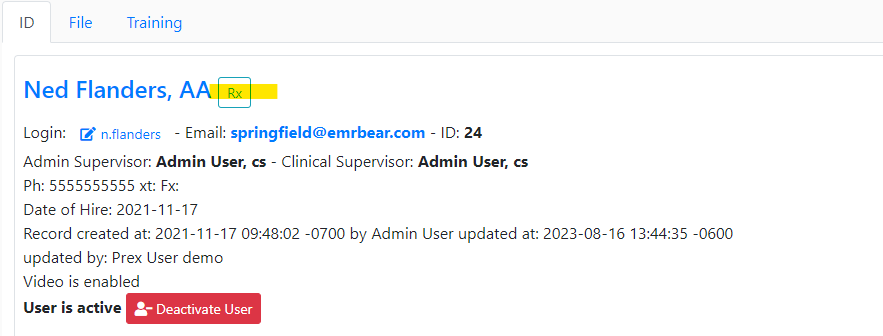
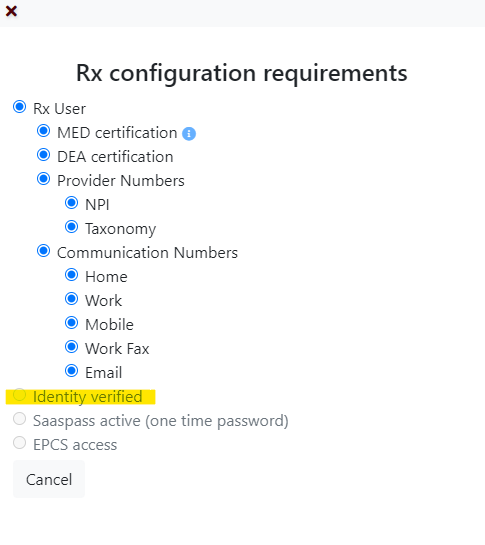
Click on the Rx box to see a list of Rx configuration requirements
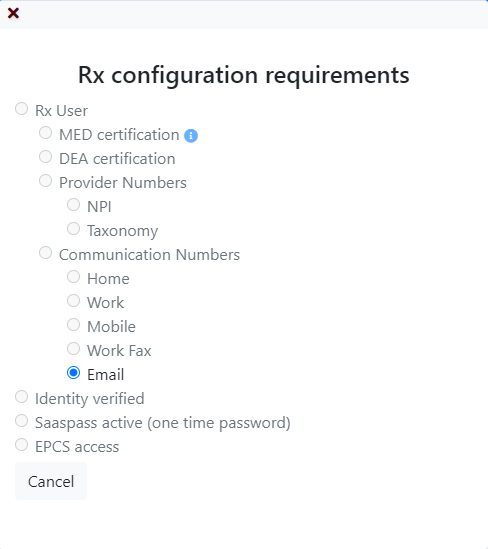
1) MED certificate (Can Be Performed by Provider/Human Resources/ Administator)
If you hover over the blue information icon to the right of the MED certification entry you will find a list of valid certifications. At least one of the valid certs must be associated with the user profile. To add a certification:
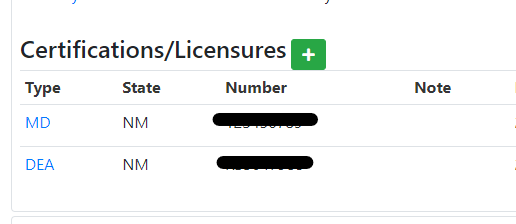
Scroll down the user's profile to the Certifications/Licensures section and click the green "+" button next to the Certifications/Licensures title
Add the user's certification(s) with the required information (type of cert/cert #/state that cert is valid in/valid dates etc.)
Click the blue Create User Certification button
2) DEA certificate (Can Be Performed by Provider/Human Resources/ Administator)
To add a user's DEA information, follow the MED certification steps above but choose the DEA n/a option from the Type drop-down menu.
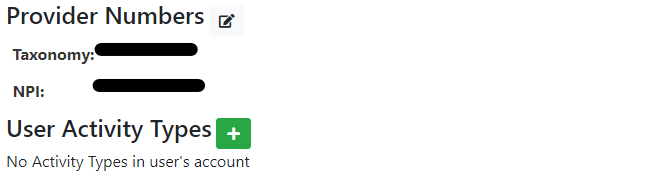
3) Provider Numbers: NPI & Taxonomy (Can Be Performed by Provider/Human Resources/ Administator)
To add a user's NPI & Taxonomy numbers, scroll down to the Provider Numbers section and click the edit icon next to the section title. Add the NPI and Taxonomy numbers for the user and click the Modify Provider Numbers button.
4) Communication Numbers (Can Be Performed by Provider/Human Resources/ Administator)
To add user's communication numbers, scroll to the Phone Numbers section on the client's profile and add the user's Home, Work, Mobile and Work Fax numbers. The email entry will have been added when the user's profile was created.

Once these first steps have been successfully completed, the user will have a new Rx User section/box on their EMR-Bear dashboard.

Within the Rx User section there will be a link Validate Identity to E-Prescribe.
5) Identity Verified (Performed by Provider)
At this step, the user, who is going to use the Rx feature, will have a Validate Identity to E-Prescribe button on the Rx User section of the dashboard that they will need to click. Fill out the information and click the blue "Send Data" button.
6) SAASPASS active (Performed by Provider)

Example of Email Content:
"Your company administrator has invited you to access EMR-BEAR LLC applications with SAASPASS two-factor authentication. To get started you need to do two things:
1. Download SAASPASS on your mobile device. Get the APP named SAASPASS Authenticator, SAASPASS 2FA MFA App Generator.


- Launch and activate SAASPASS on your mobile device. If you are scaning the QR Code, be sure to scan it using the the SAASPASS barcode reader from the top of the SAASPASS app.
- Click here and follow the steps to verify and activate your user account


IMPORTANT NOTE: Adding a New Password Manager (i/e. a second email) to SAASPASS
If you add more than one password manager an additional email for a different agency, you will get an automated email for verification. You can also add new emails directly from the app and follow the verification process.
7) EPCS access (Performed by Provider)
The user requesting permissions to prescribe controlled substances will need to request verification from two of their agency's users. This is done by clicking on the Request EPCS prescription pair approval link found within the Rx User section/box on their EMR-Bear dashboard.

You have a window with a list of users you can choose from to request your identity approval.

Choose at least two and submit.
Your chosen two representative will have a banner displayed at the top of their EMR-Bear Dashboard with the request.
Approver's Dashboard View

The approver will be asked to sign.

When the approval process is complete your EMR-BearRX box on your dashboard will read

NOTE: For access to be granted a prescriber must request verification from two other providers in the same agency. Agencies with two or fewer providers will need to request manual verification from EMR-Bear support. For manual verification please reach out to support@emrbear.com. Provide the name of your agency, the provider’s email to be verified and the provider’s name. Our support team will manually grant your access to EPCS. Once access has been granted it will be reflected in your dashboard in the "Rx" panel.
Once these steps have been successfully completed, the user will have permissions to prescribe medications.

"How to Prescribe as an Active Rx User"
For instructions on the features of EMR-BearRX see article "How to Prescribe as an Active Rx User" at https://help.emrbear.com/articles/456
Other Frequently Asked Questions Articles
- How do I edit a signed note?
- How do I set-up the Stripe function in EMR-Bear?
- How do I setup the Topaz signature feature?
- My calendar is not showing/disappeared
- I switched to a different user and got logged out.
- A provider left the practice. What can I do about their pending signature requests?
- How to Prescribe as an Active Rx User
- How do I hide a duplicate client profile?
- How do I hide a client from only a few users?
- How do I hide a client from all users except a select few?
- How do I clear cache in Chrome?
- Consent to Receive SMS/Call Communication