

Initial Setup
CLIENT PORTAL
As a compliment to telehealth, we have created a mechanism that will allow you to collect signatures on select consent forms via our client portal. The following are the steps you can follow to first enable to the portal in your system, then designate which consents can be completed via the portal, and finally to grant access to the portal to your clients.
Enabling and Configuring Client Portal
- To enable the portal in your system, you’ll need to upload terms of portal use (i.e. “By using this portal I attest that I am the client named or have permission to act on behalf of the client…”). This consent language can be saved as a Word document for upload into your system. The Client Forms and Portal section is where you can make changes to your client portal.
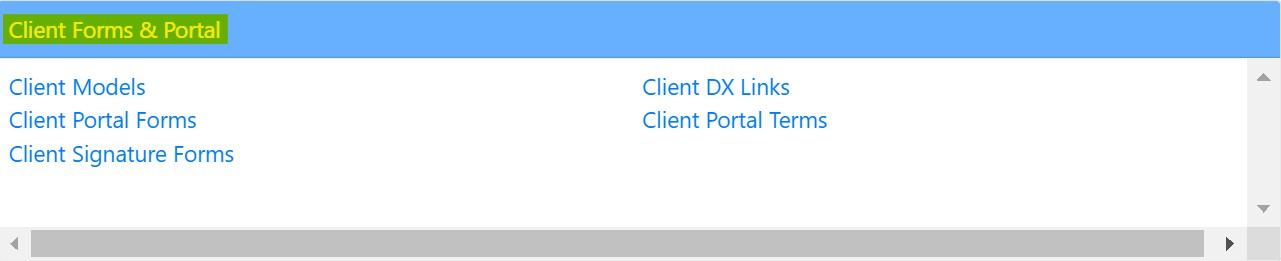
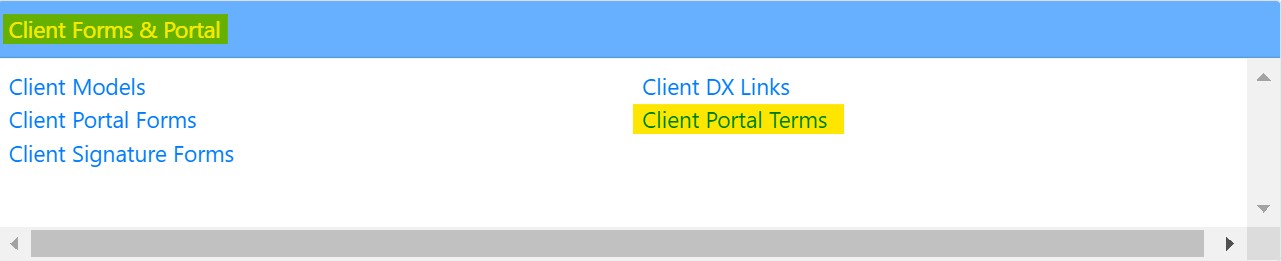
- To upload, go to dashboard>Client Forms & Portal>Client Portal Terms and under the “Client Portal terms and Conditions” section, click Upload New Client Portal File.
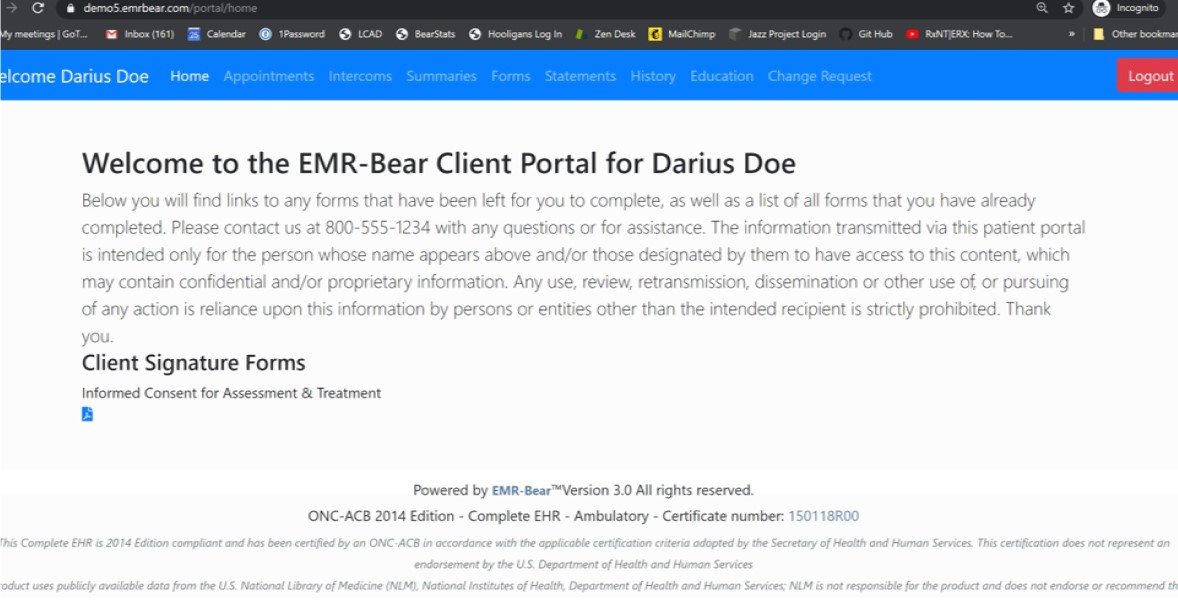
- Once you have uploaded portal terms, you will see a section titled “Client Portal Homepage Greeting” in which you can write a customized greetings.

- Clients will see this on their personal homepage after they log in.
Designating Consents Available Through Portal
- Once you have enabled the portal in your system, choose which forms will be available to complete via the portal by going to dashboard>Admin>Client Signature Forms.
- Note: This can also be accomplished in the HR section.
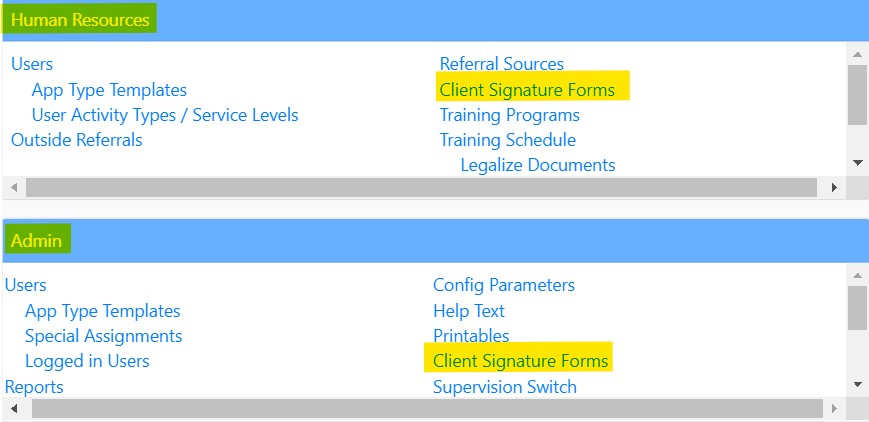
- Select the desired forms. Select the edit pencil beside the form you want to make available and check the “Present this form in Client Portal”.
Granting Access to Client Portal 1. Go to the Admin Tab of the client file for whom you are granting portal access. Click the “Client Access Credentials” Button:
- Select the areas of the client portal that you want this client to have access to. Some recommendations on granting access to the portal include:
a. We highly recommend not granting access to client intercoms until you have an agency-wide policy in place for their use. b. As an agency, agree upon a consistent convention that you will use to create client user names (i.e. using Frank Doe as an example, “fdoe” or “frank.doe”) c. Use a common temporary password for all clients (i.e. Changemenow123). The client will be asked to create their own password when they log in for the first time.
Logging in as a Client 1. Using the latest version of Chrome, go to the agency’s portal address (i.e. “behavioralhealth.emrbear.com”). Do not type www. in front of the agency address. 2. Select the “I’m a Patient” button.
Additional Portal FAQs 1. Once a client has viewed and signed a consent via the portal, the completed form will appear in the client’s chart in the Program designated for consents. 2. Consents signed via the client portal will not include a witness signature. 3. Once the form has been signed by the client, it will be available for them to download and/or print as a PDF.